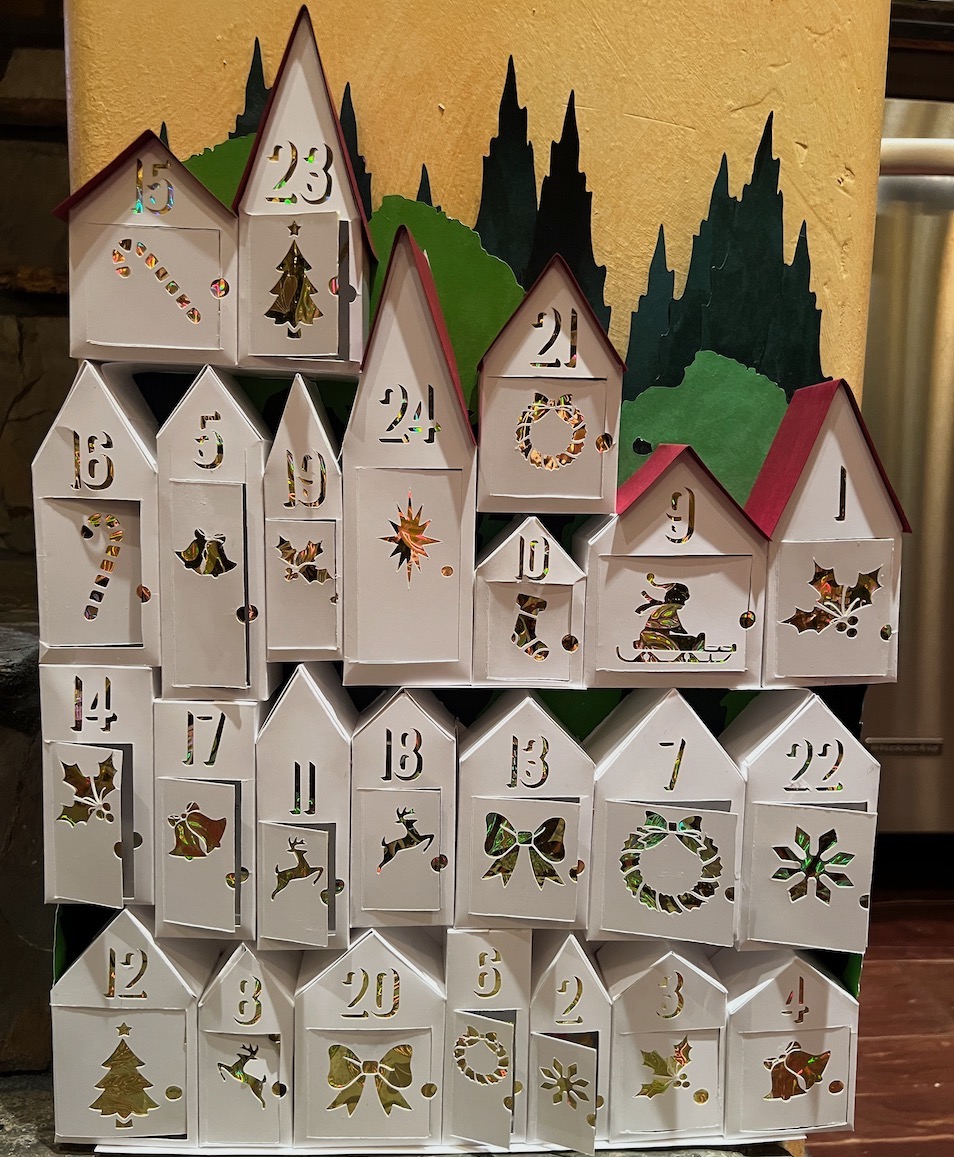
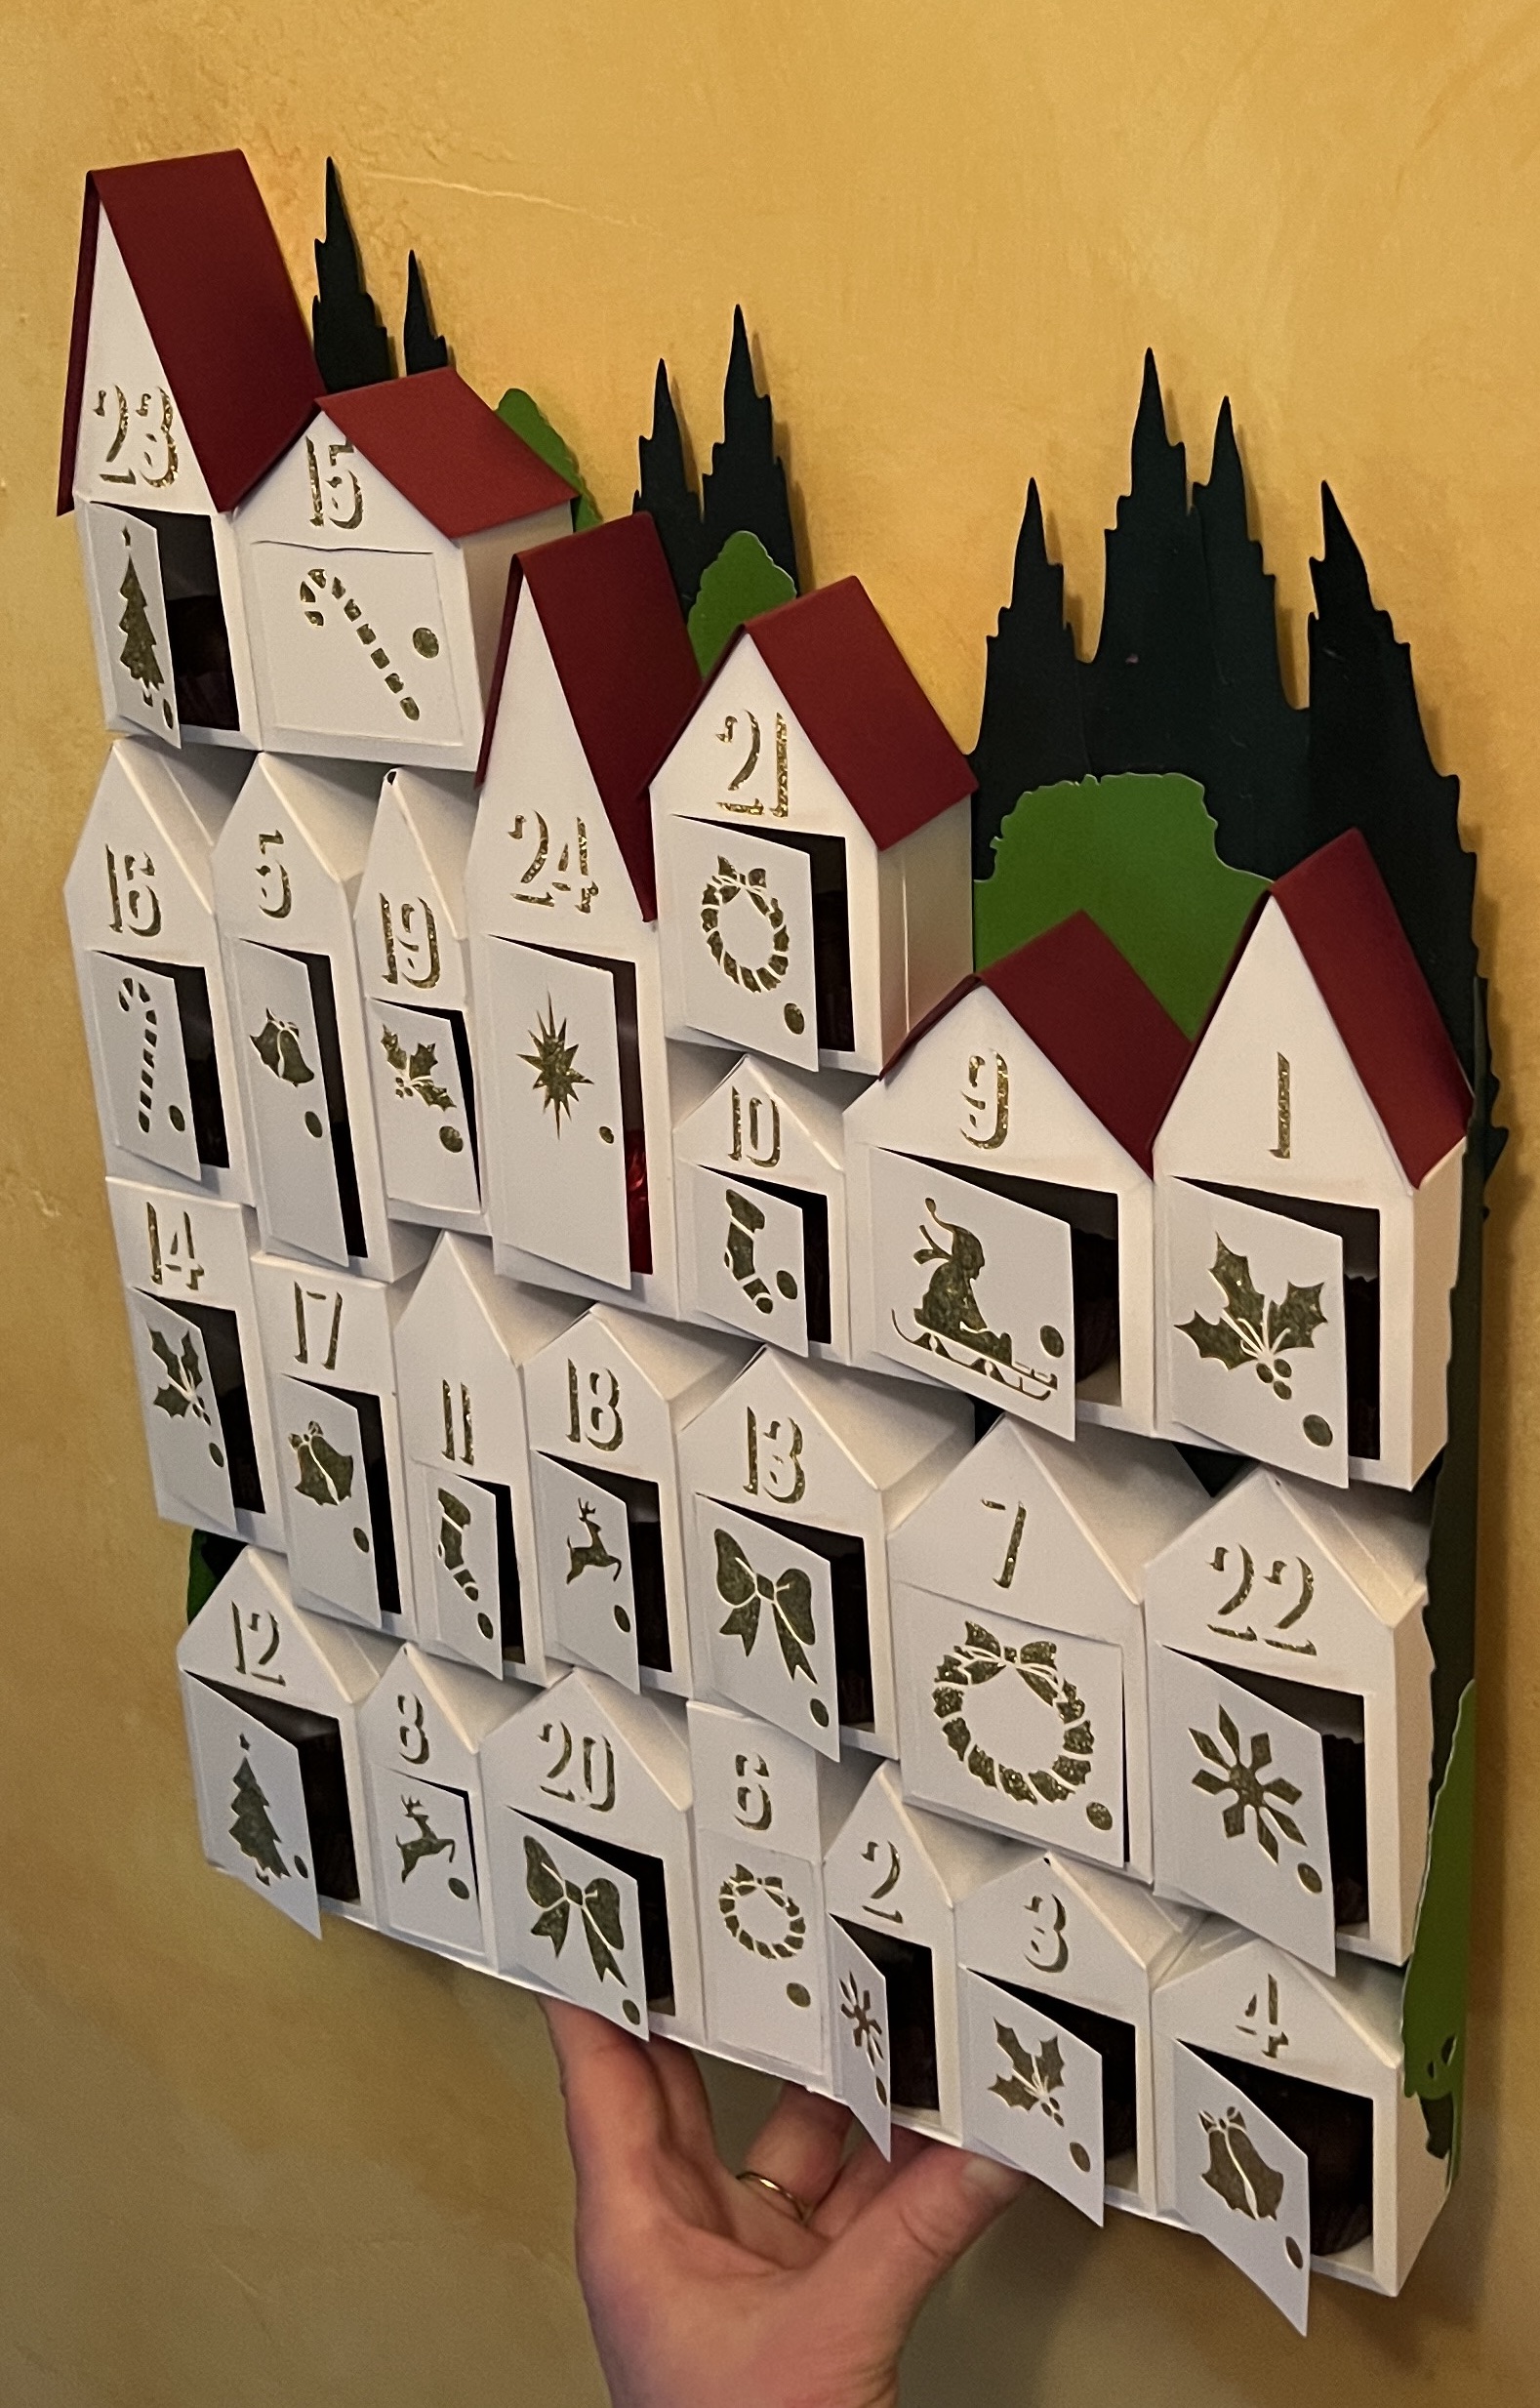
Advent Calendar
My daughter had asked for an advent calendar for December. I decided to make her one. I showed the missus my initial take - a simple image of a cottage I found off the internet with numbers and doors cut in. She challenged me to make something a bit more complicated, “playing to my skills.” I ended up going with the following, inspired from one from Pottery Barn.
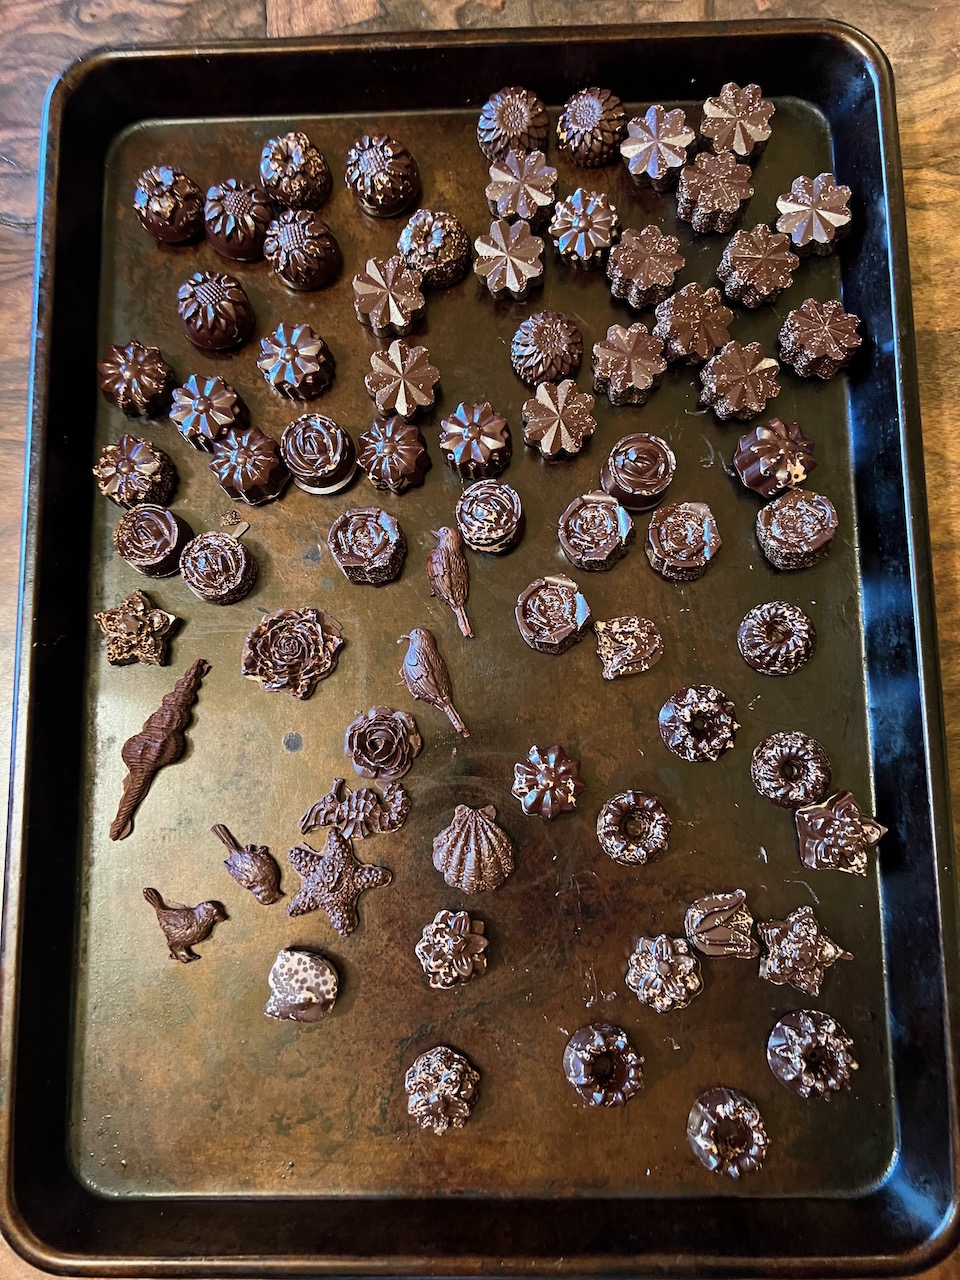
For the girl, I made tempered chocolate, two for each date (one for her and one for her partner) and also put in a mini-lego from a prior year’s Lego Advent calendar.
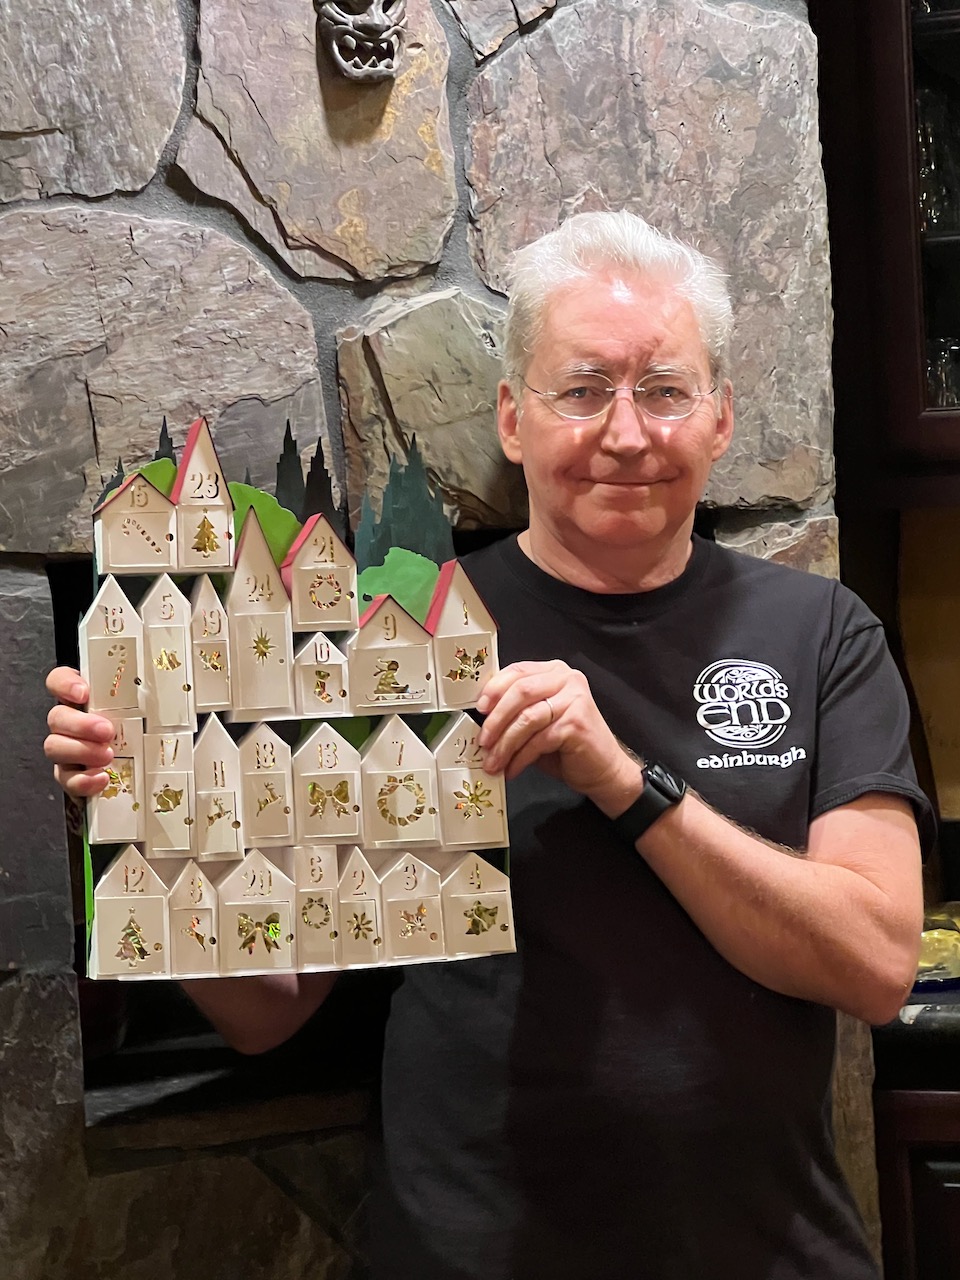
The missus had a lot of design input, aside from pushing me to do more. She was the one that pushed for the red roofs as well as the trees.
After I finished the one for the girl, the missus said “You know, my Mom was wanting an advent calendar. It would be super cool for you to do one for her!” For that one, I let her do the trees.
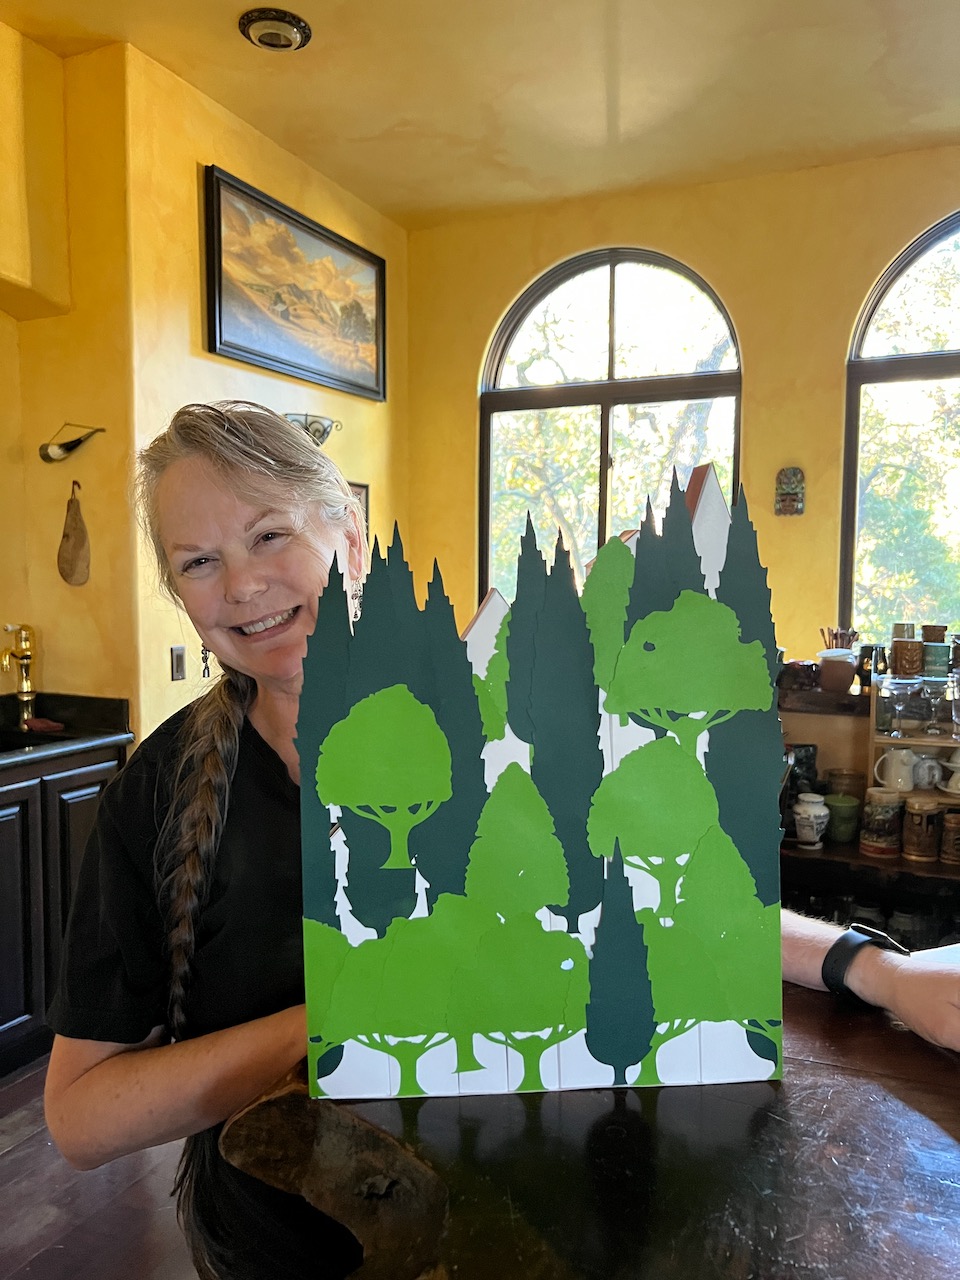
While it is a bit overkill to do so much on what is the back of the calendar, it did come out well!
Behind the Scenes
I did the design work in Photoshop and used my Cricut Air to cut out each of the houses. I made a 12” wide 16” tall document and came up with three different sized houses that I was going to scatter around, carefully doing the math to make sure it would all fit. My wife said it looked a mess and I should follow what the inspiration layout was. So…sigh…, I threw out that work and made a template of the houses over a screenshot, resized to be 12”x16”.
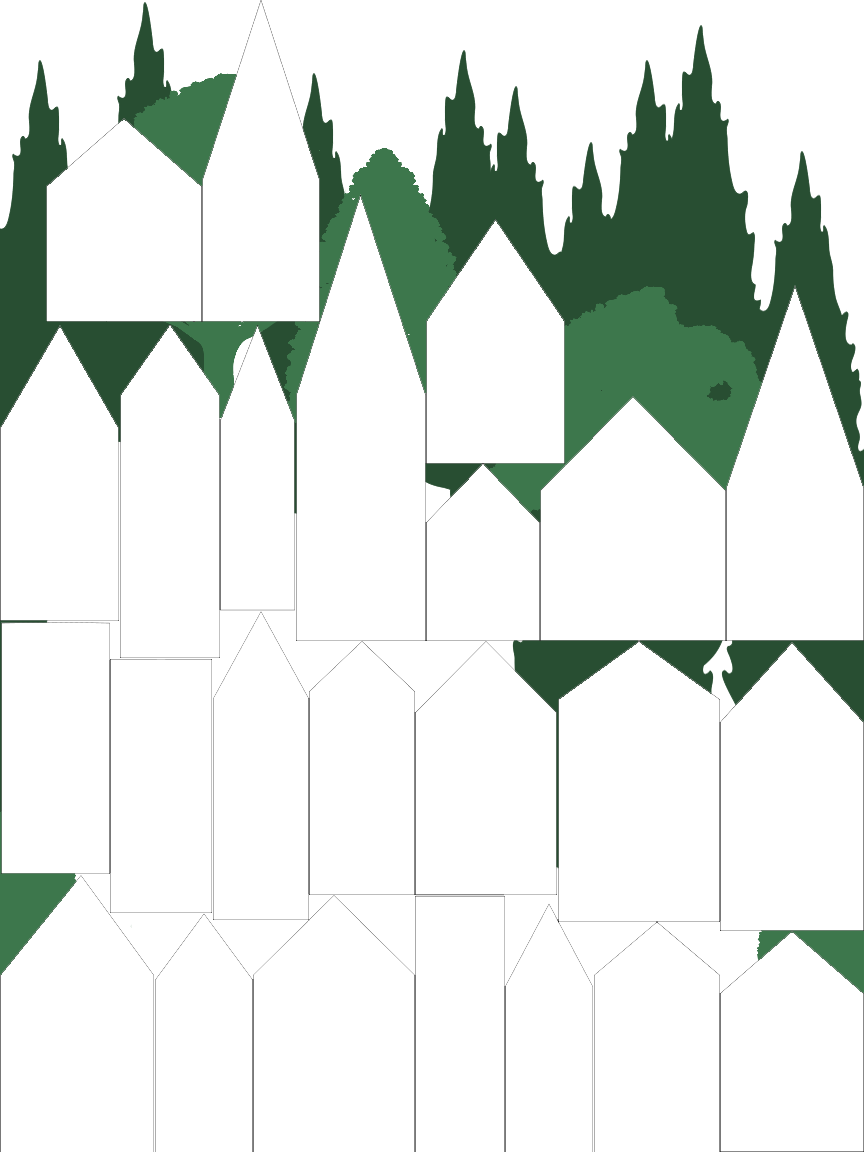
There were some minor changes but after getting sign off from the art director, I then came up with the design for the house.
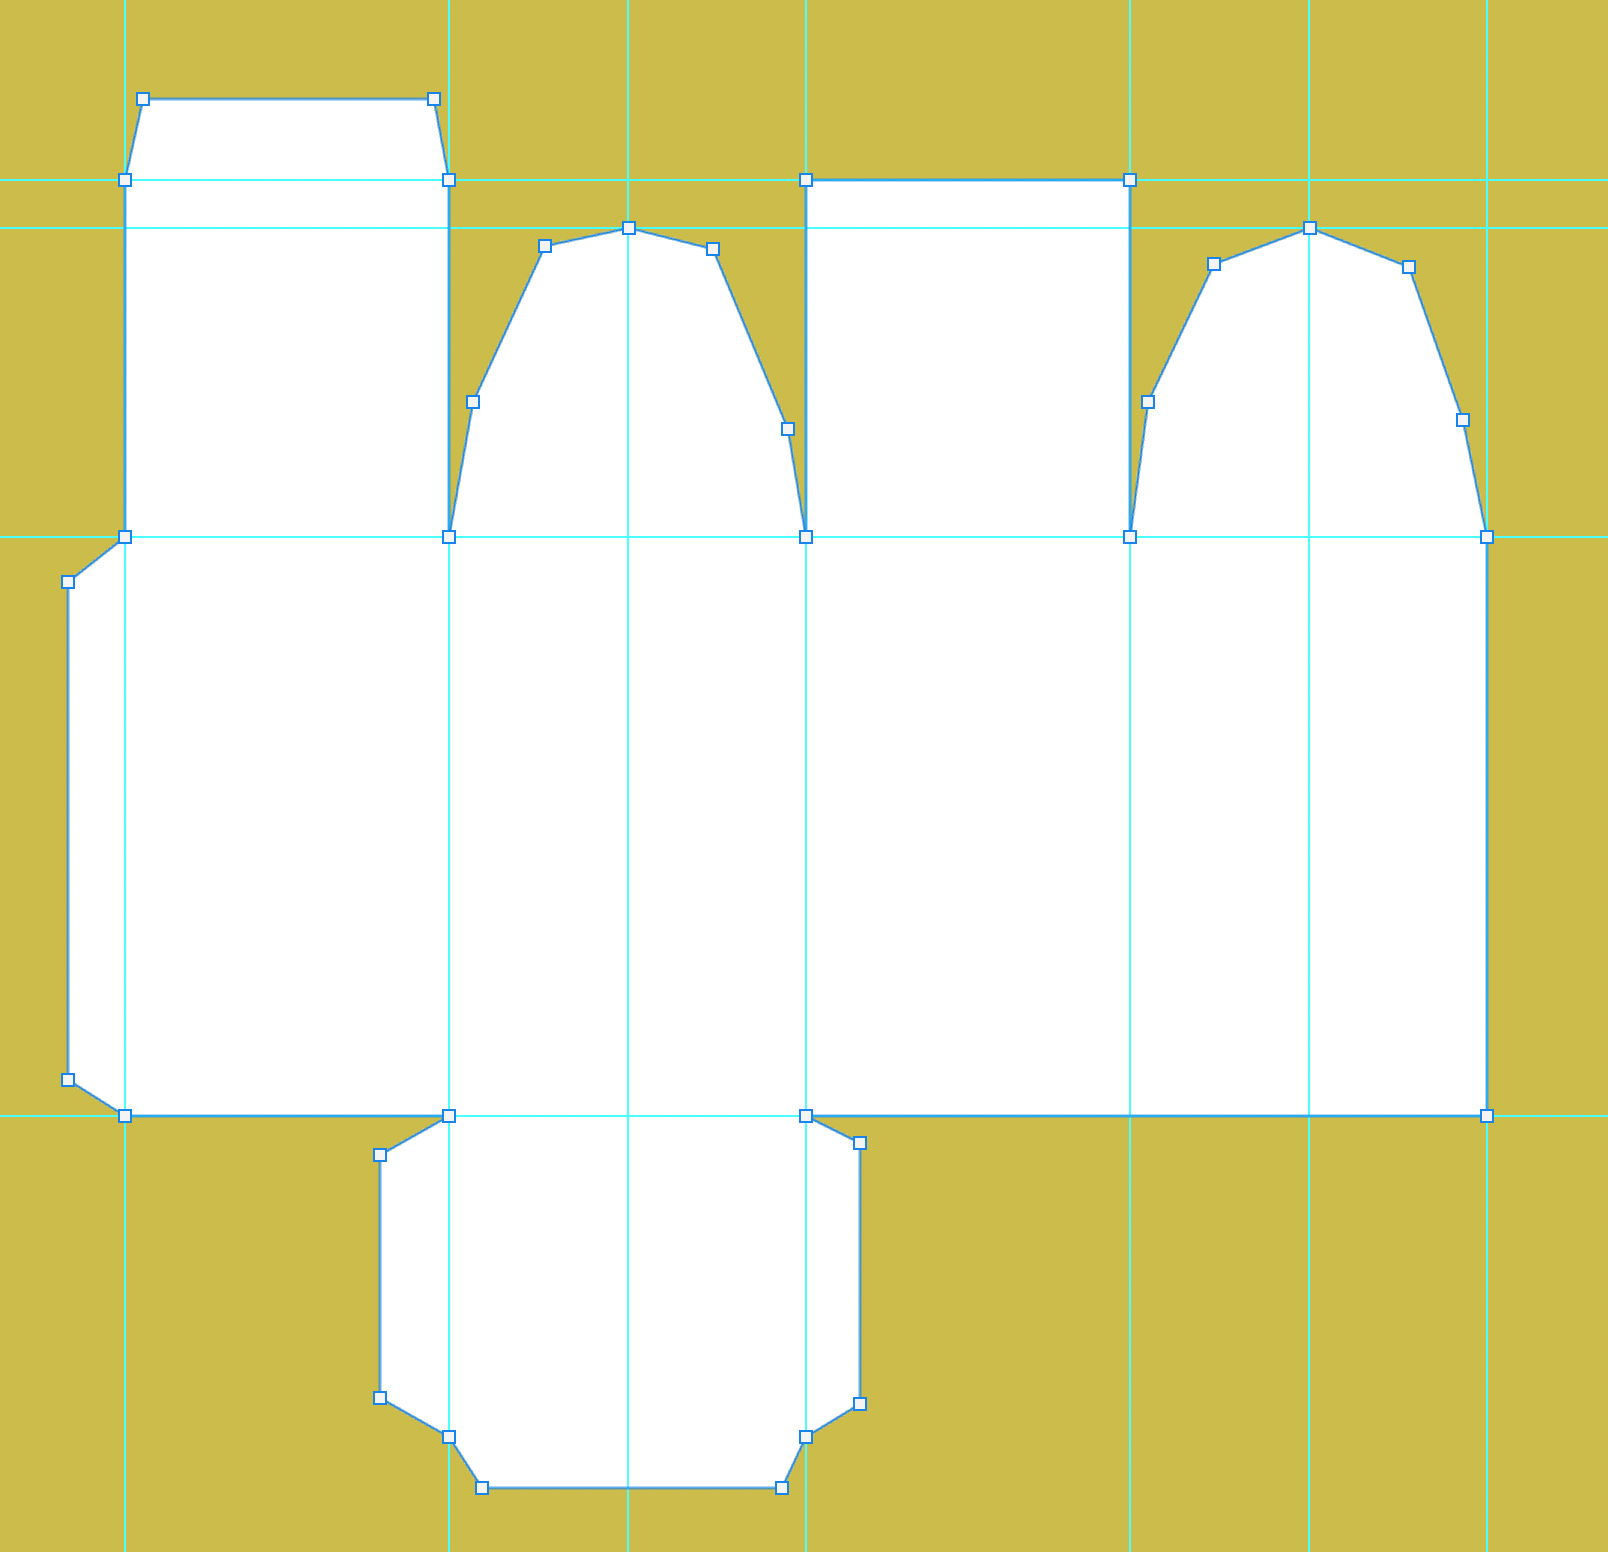
I really, really didn’t want to hand do each house, especially as the roofs required math to get the distance right. I first looked at using a spreadsheet to calculate the guidelines I’d need to hand create and then thought, I wonder if I could script this in Photoshop. Turns out you can! (Adobe has quite a bit of information on Scripting Photoshop.)
Cricut Note
One of the many issues using Cricut Design is that there is no bulk uploader of images. Again, I did not want to do that for 24 houses (as it is a very time-intensive process) so I wrote a second Photoshop script to export each visible vector layer into a single SVG file.
The other thing that I finally figured out was that I needed to keep the cut lines for each door separate from the house outline, as they did not get cut out when combined. The secret is to first select all the elements you wish to have removed from the house outline (which I needed several times as not all the images were SVG). This excludes the door frame and has the house outline last. Choose Combine > Subtract. This sadly sends the result to the top of the list with the name “Subtract”. Move the door to be on top of this, and then choose Attach which again sends this to the top of the list (were you so foolish as to move it back to where you wanted it) with the name “Attach”. Now you can rename and reposition the new group.
For the numbers, I used a stencil font called Archer, for the icons, I scavenged them off the internet and Cricut’s free images. Most needed tweeking in Photoshop for the size I was using.
Hoping your December is merry…
