2019 - Christmas Chess
The inspiration for this scavenger hunt came about when I found out that the iconic chess match at the end of Harry Potter and the Sorcerers’s Stone was actually fully planned out by international master, Jeremy Silman. Even better, it was eight moves! This meant I could have my magical 7 clues + the starting clue in the box that I’ve found works so well. Less than seven goes too quickly and more drags far, far too long. Plus “seven is the most powerful magical number.” 1
So the concept was that you would somehow start with the opening position and figure out what the next move should be. Somehow that would map to a room or location where you would find the piece that moves next. You would figure out where that piece should move to and keep going. One challenge was that all of White’s moves are by the Queen, so that is four Queens that I needed and I wanted them all extra-large. Fortunately, it is an accepted custom that, in case of pawn promotion, you can use an upside down rook to represent a new Queen.
The map with the starting position and the eight pieces…

The next challenge was how to map locations in the house to the square the player was moving to? I had the idea of revisiting the Marauder’s map, but with a simpler layout of the starting position, and directly under it a key to the locations in the house. It was a hint to the seeker that some of the locations were nonsensical (“Tyrris Medivs” and “Anum Stud”)
The opening position…

The squares with labels for each possible location…

In the box with the map and the queen was a letter from Hermione, explaining the scavenger hunt…

On the Queen was a banner that read:
- Q - ?
There is only one move the Queen can make that is a capture, which is the pawn on d3. It also stops Black’s mate threat of Nh3 and is also thematically nice as the Queen now threatens Harry, playing the bishop. D3 maps to the Floo Network, which, from the original Marauder’s Map, you know is the pizza oven. Inside the pizza oven was a large Black rook, with the banner…
- Qxd3 R - ?
Hopefully, that was a nice easy clue to get folk going and it turned out to be so. The next move isn’t entirely obvious even knowing it is a rook move (and if you paid close attention in the movie or read Hermione’s letter carefully, you will know her rook won’t be making any moves.) In any case, it is a sacrifice that both protects Harry and also adds to the audience perceiving the White Queen as “the villian”! Rc3 maps to the Great Room. Some quick searching finds a second queen in a cabinet with all of the other plushie chess pieces with the banner…
- Qd3 Rc3
- Q - ?
Clearly, the queen will take the Rook on c3 - but that brings up the next challenge — the White Queen will capture on c3 (and in fact, many of locations get captured and recaptured). So my approach was to hide the piece in the location I thought was the first place the seeker would look, and use body language (in one case, standing in front of a cabinet) to keep the second piece from being found out of order. In this case, there are only so many cabinets and spaces to search and quickly you would find the Black Knight with the banner…
- Qd3 Rc3
- Qxc3 N - ?
This is the big moment! Ron, on the Black Knight, is going to sacrifice himself, but he has two squares where he can check the White King, but f3 is bad as it doesn’t pull the Queen away from the action and White’s Knight could also be used. So that leaves Nh3, which maps to the Guest room. This is the room where I stood in front of one (secret) cabinet while she was searching. Soon she found an upside down White Rook (that is, a Queen) with the banner…
- Qxd3 Rc3
- Qxc3 Nh3
- Q - ?
There is only one legal move now and so I stepped away from the cabinet to look at the piece and so she soon found the Black Bishop with the banner…
- Qxd3 Rc3
- Qxc3 Nh3
- Qxh3 B - ?
In the movie, this is the point where Hermione starts to step off of her square but Harry calls out “Wait!” and checks the White King on c5, which maps to the Cauldron Cupboard, which maps to the Kitchen pantry. In the bottom most shelf in the corner is the last upside down Rook, with the banner…
- Qxd3 Rc3
- Qxc3 Nh3
- Qxh3 Bc5+
- Q — ?
The Queen has no choice but to intercept at e3, which maps to Dumbledore’s office, which maps to my office and so, after a fair bit of searching (there are a lot of spaces to hide), you find the final piece, a Black Bishop with the banner…
- Qxd3 Rc3
- Qxc3 Nh3
- Qxh3 Bc5+
- Qe3 B - ?
Once again, I had the issue of too many pieces for a single room. In this case, there is a Lewis set way at the top of a shelf, and on the White Queen was the banner…
- Qxd3 Rc3
- Qxc3 Nh3
- Qxh3 Bc5+
- Qe3 Bxe3++
with your present behind…
Merry Christmas!
Behind the scenes
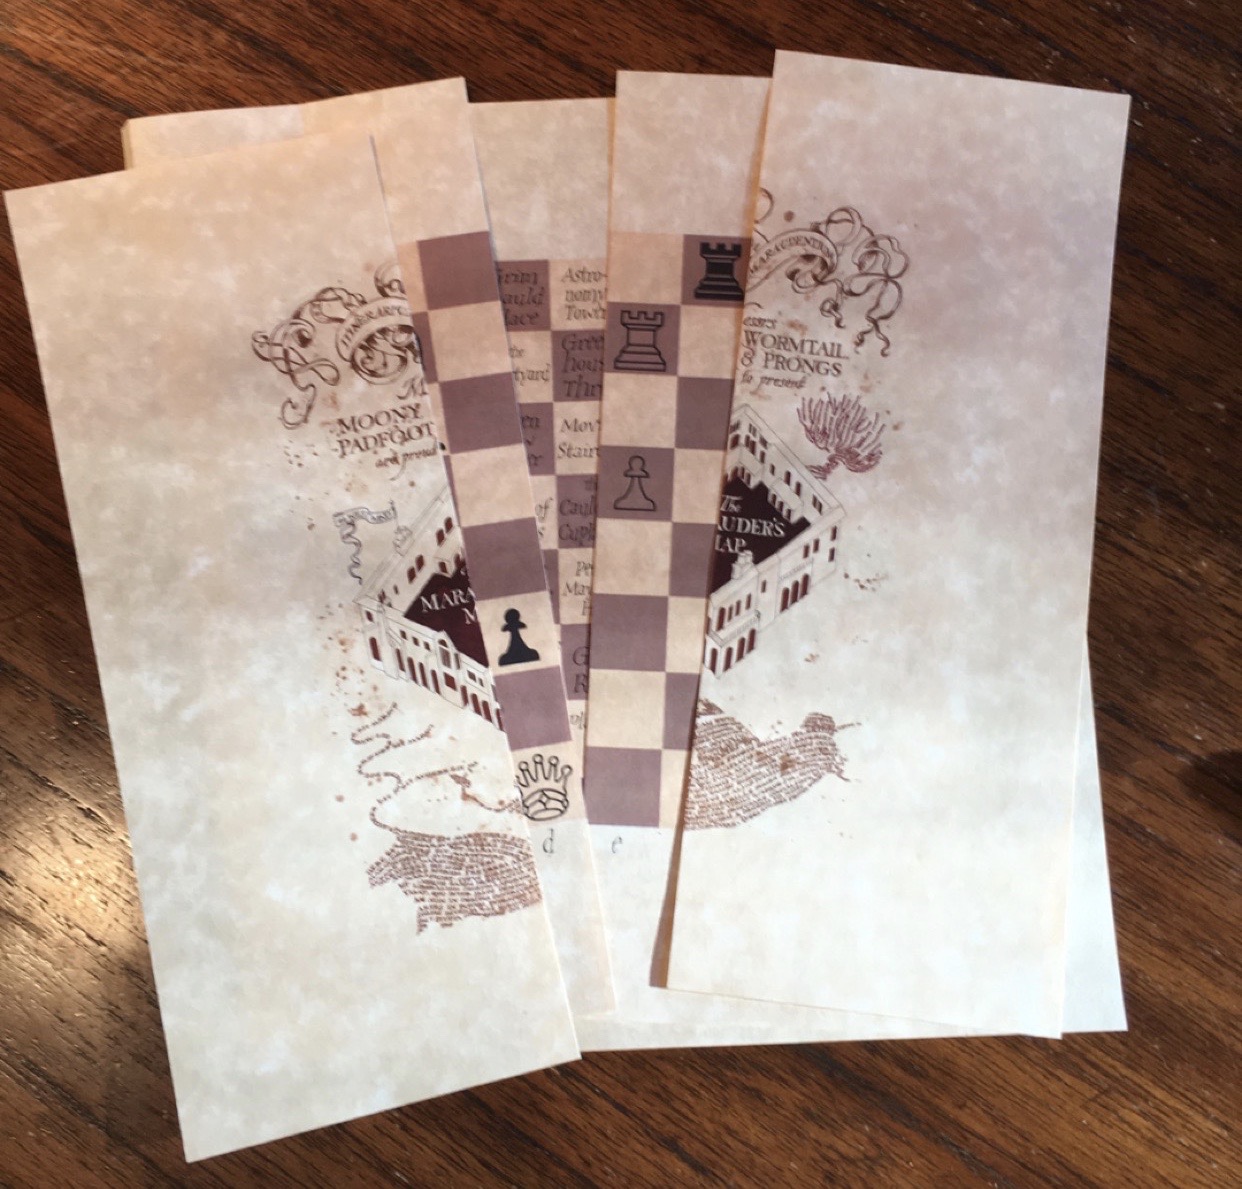
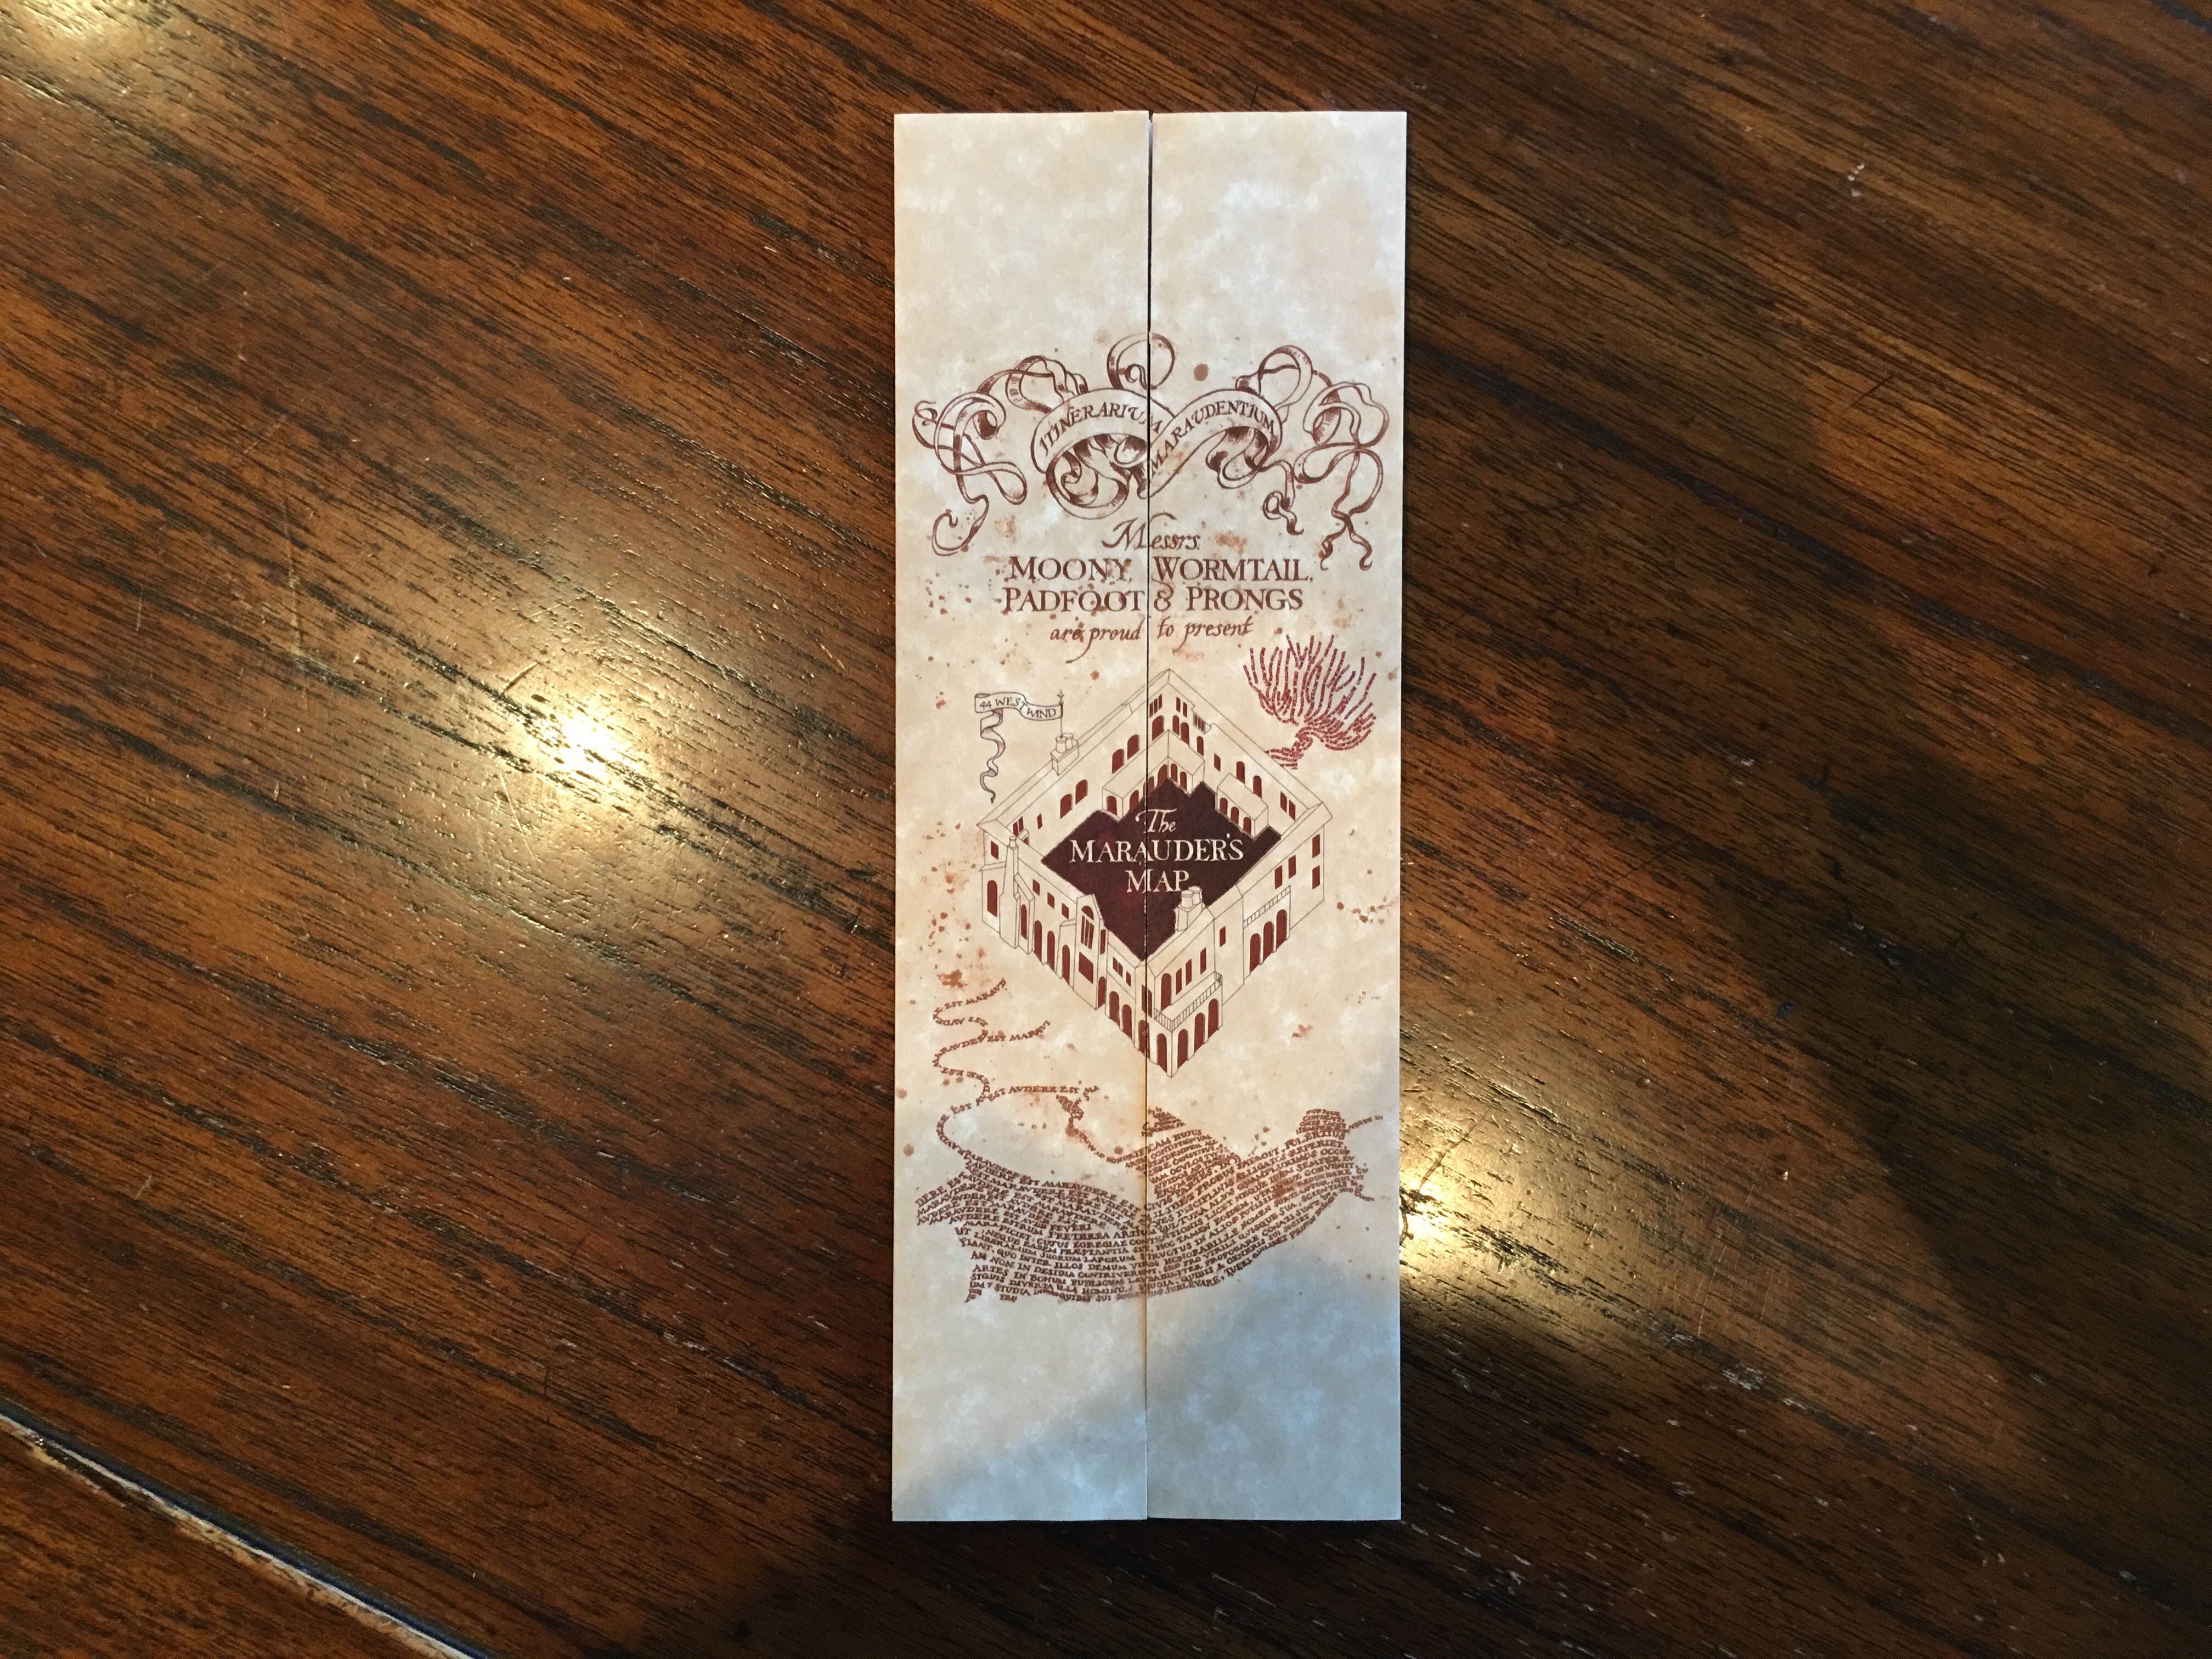
For the curious, here is a sequence of photos showing the construction of the Chess Marauder’s Map. I used the same approach to make the 44 Westwind version. The overall concept is to print out each of the pages, then cut all the pieces except the bottom most down the middle…
You then fold a quarter inch tab on the far end, this will be used to glue to the underneath of the page above. You then fold the remaining piece of paper in half. Thus, an 8.5” piece of paper becomes two 4.25” pieces which becomes a 4” piece, and then a 2” half piece of the map.
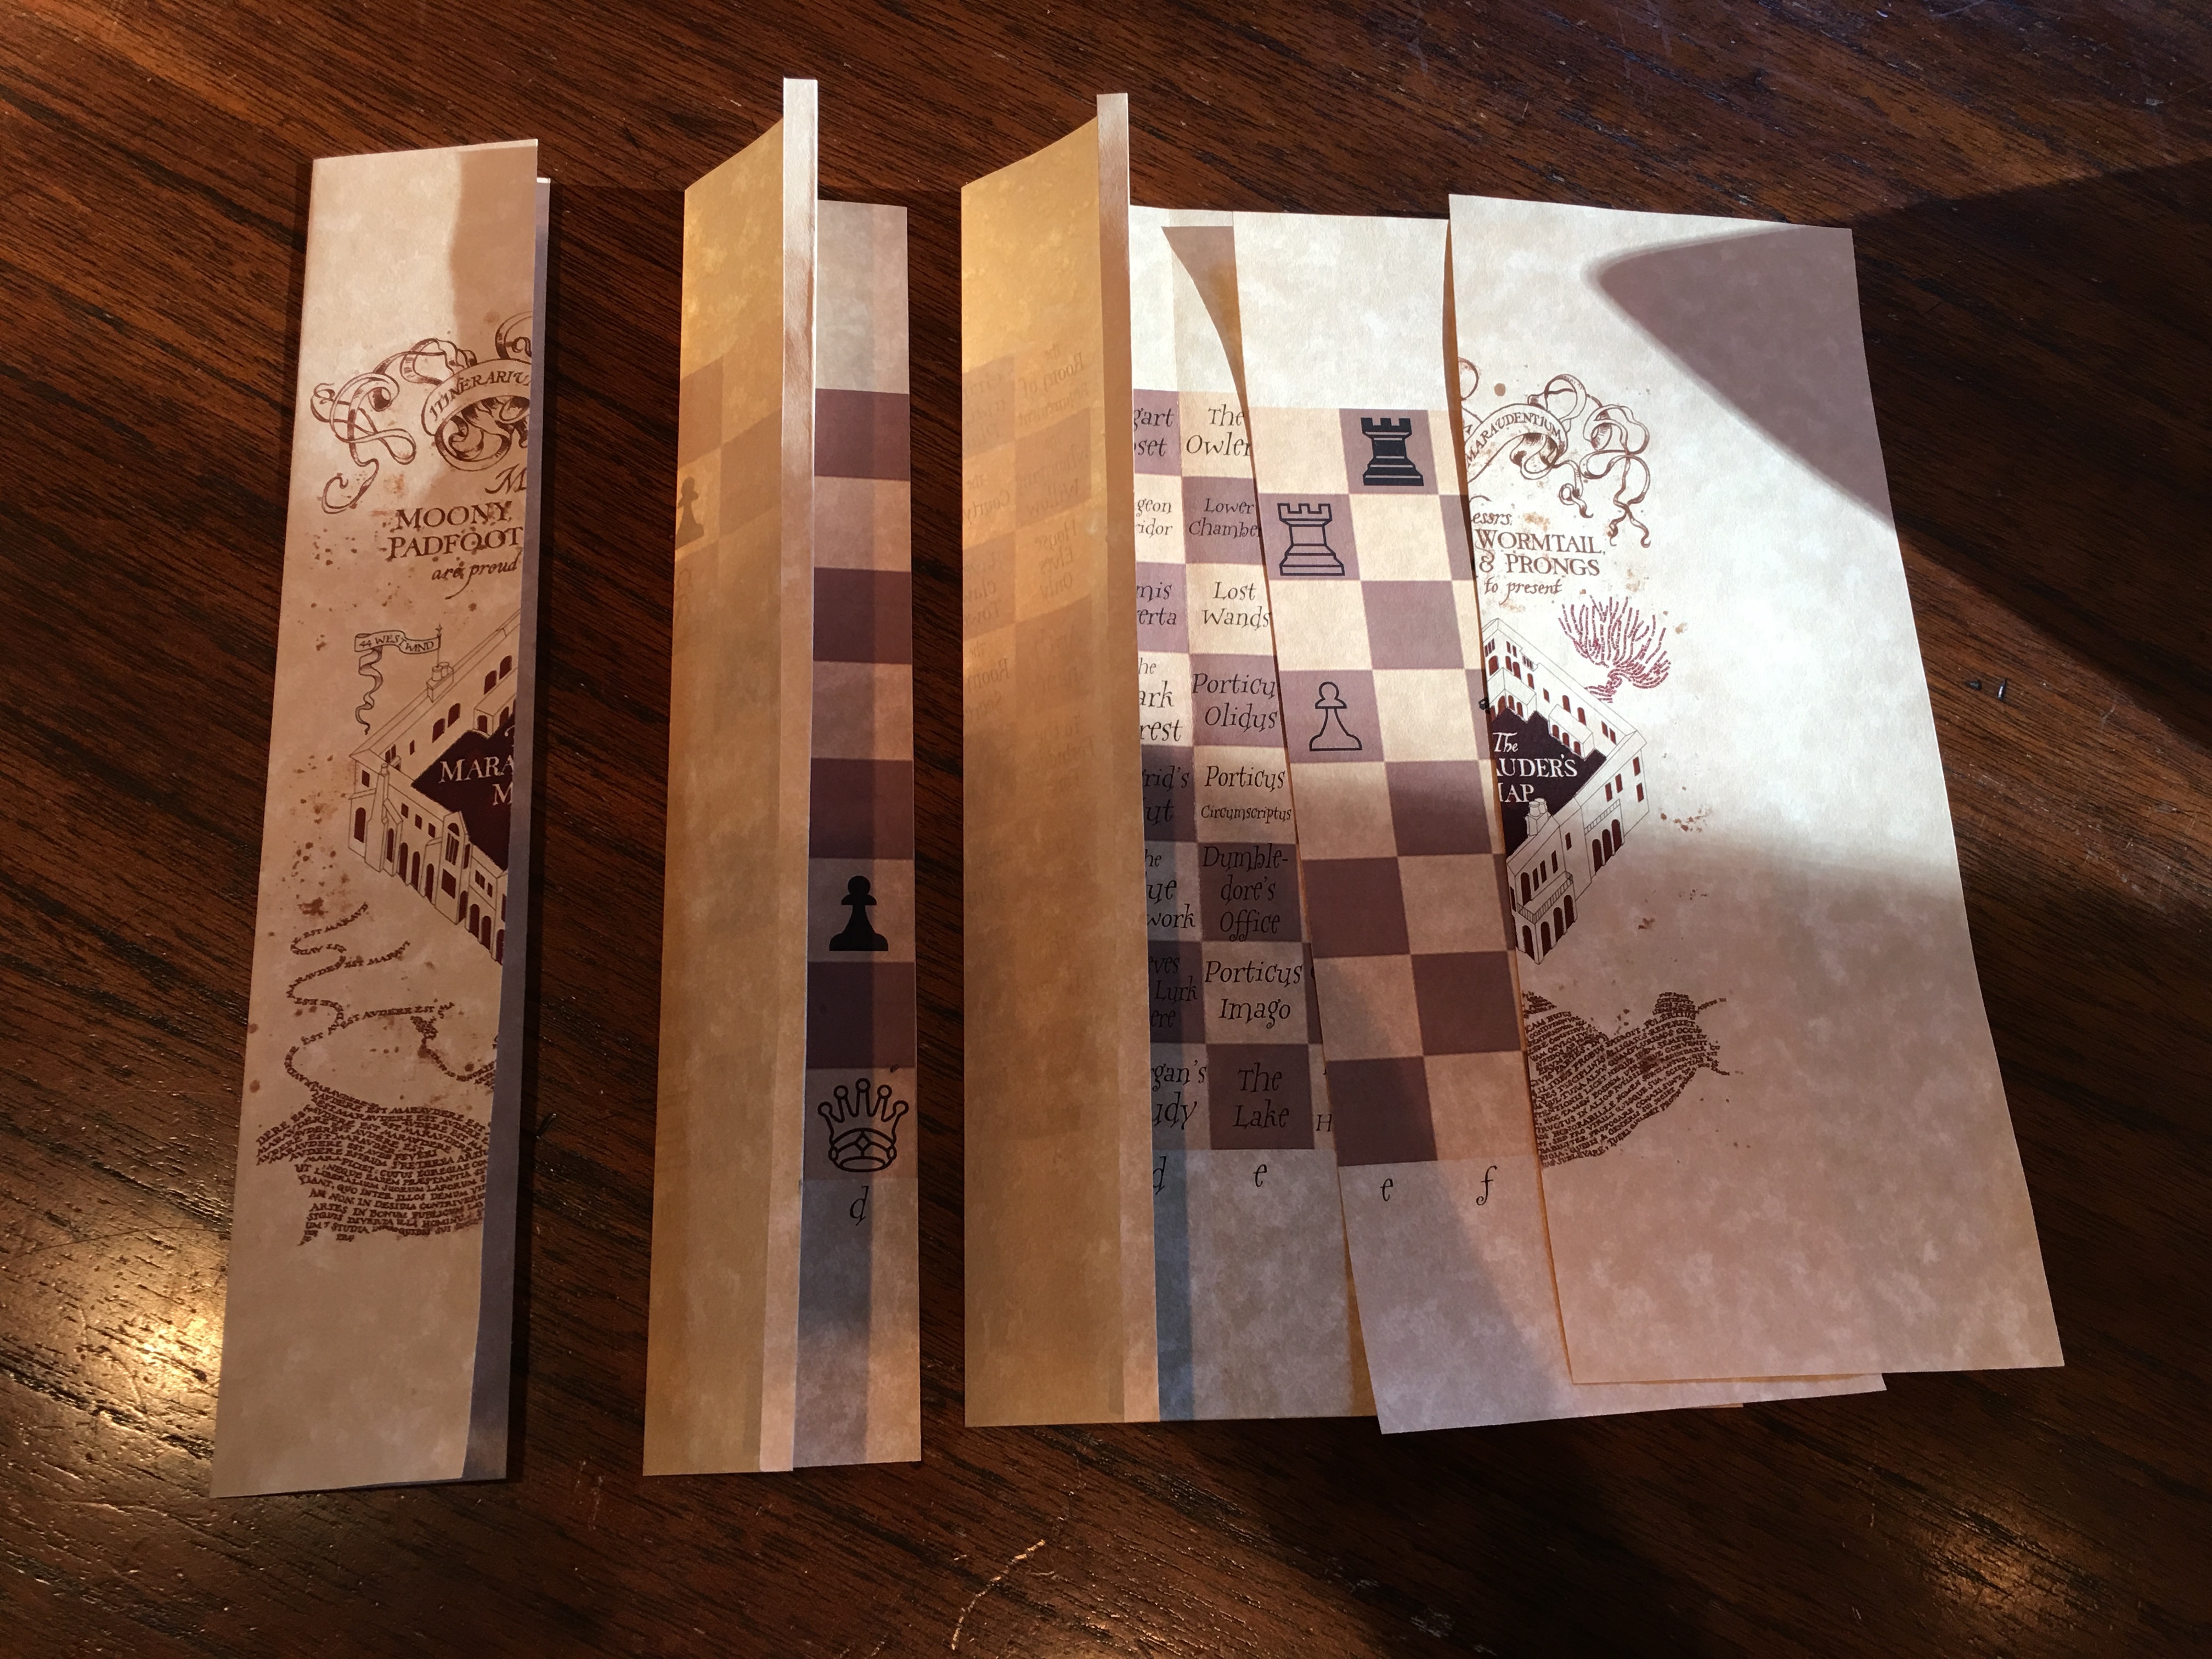
Here you can see the left front half (folded backwards with the tab cut off as it isn’t needed), the left middle half, and the bottom (which again, is uncut), then the right middle and right front.
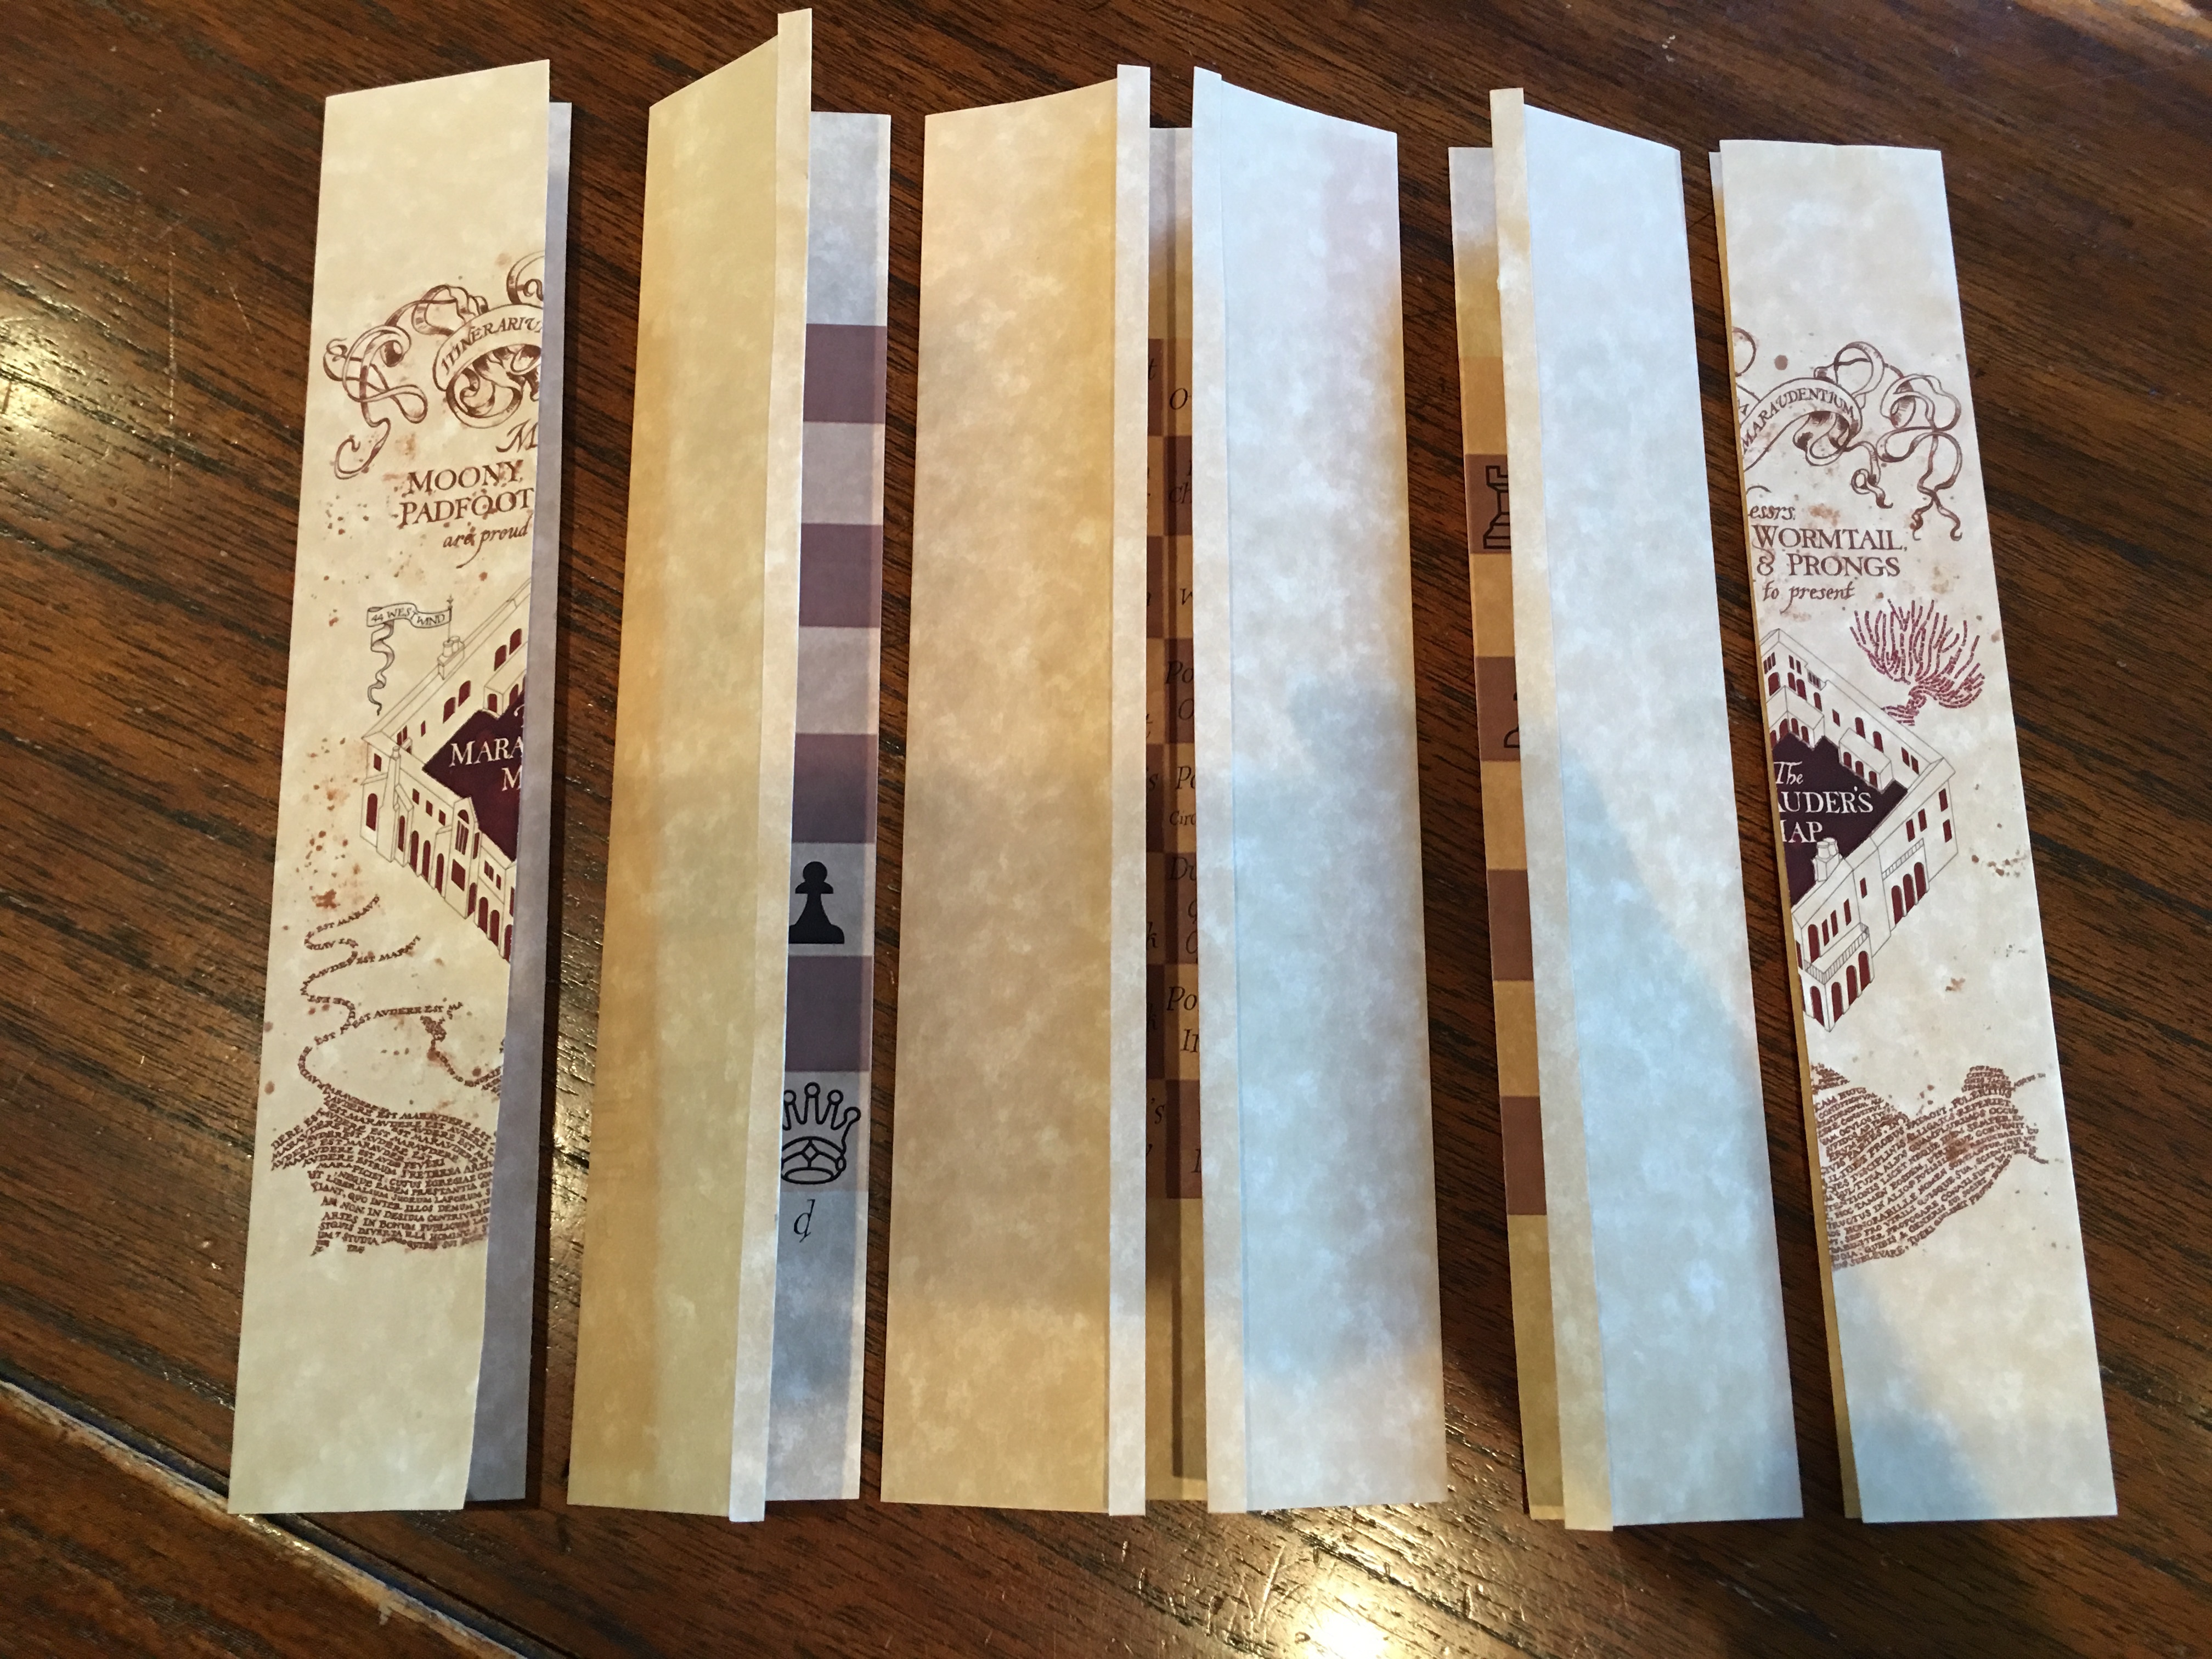
Here we have glued the middle sections onto the bottom, with the front section still to go.

The left front is now glued on with just the right to go.
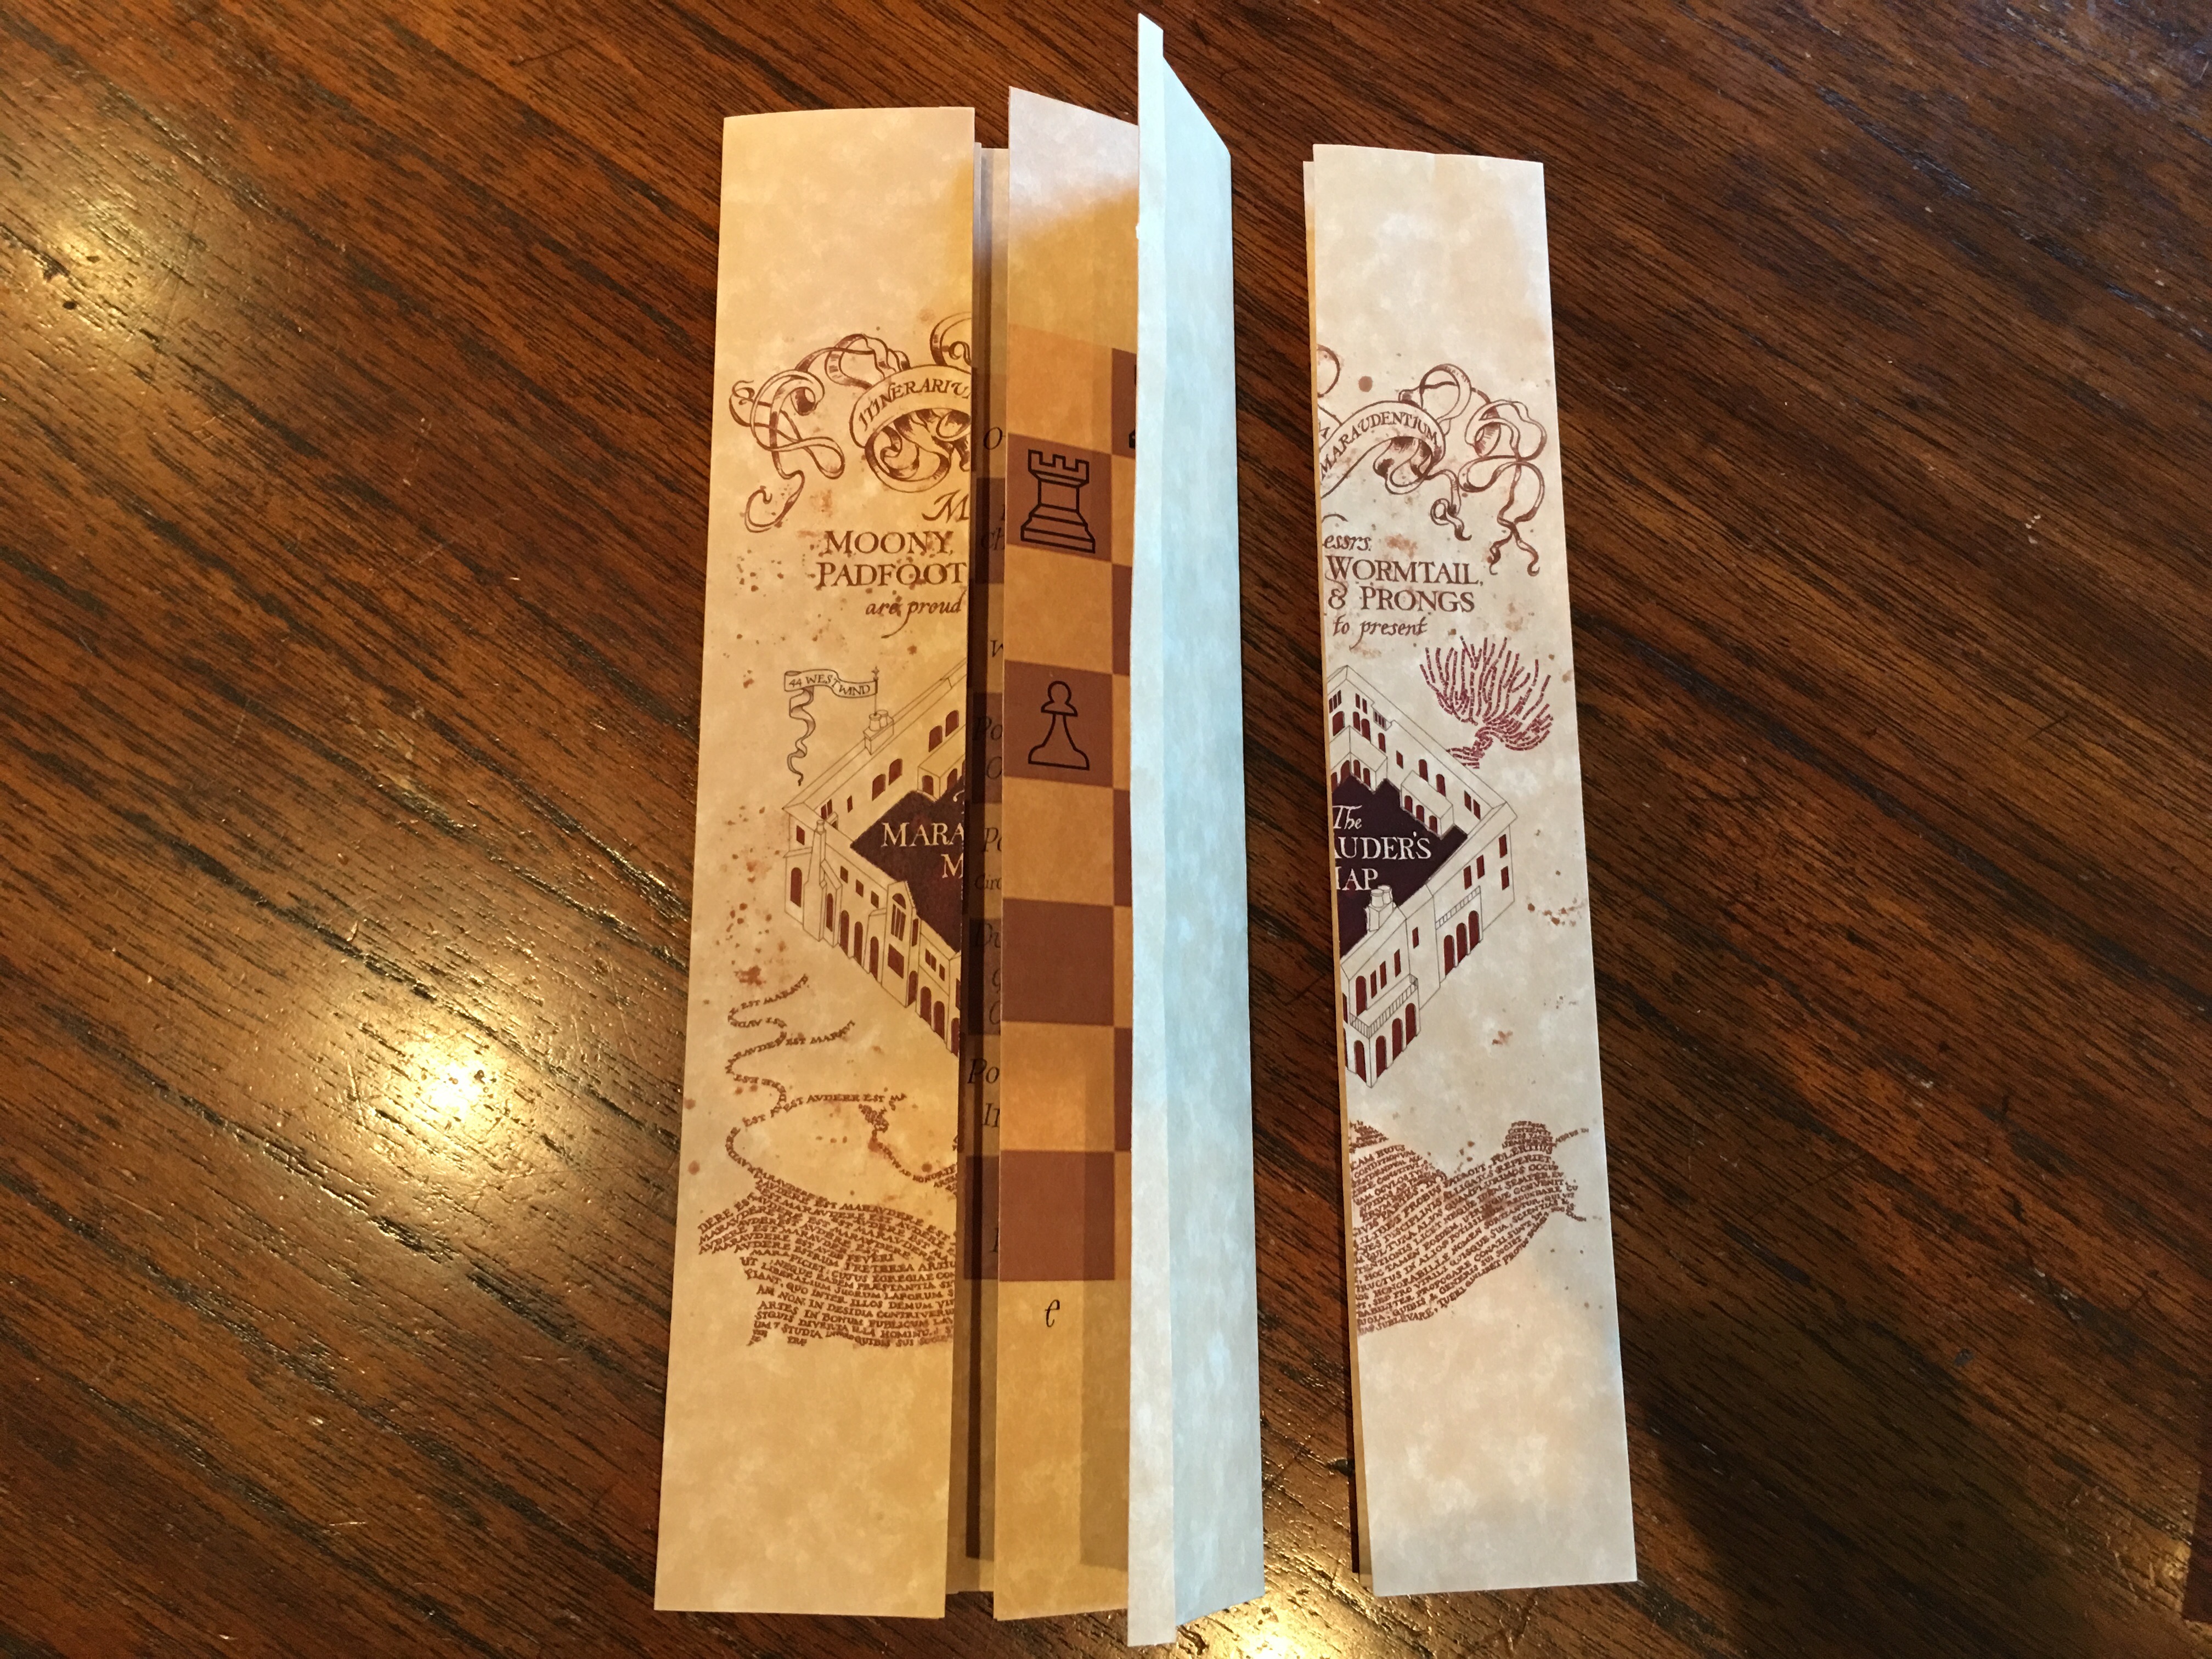
The completed 4” x 11” map.
Folding out the left and right sides reveals the opening position.

And folding the left and right sides again reveals the squares with the labels.
Footnotes
-
“…isn’t seven the most powerfully magical number…” — Tom Riddle — Harry Potter and the Half-Blood Prince ↩