The Tree House
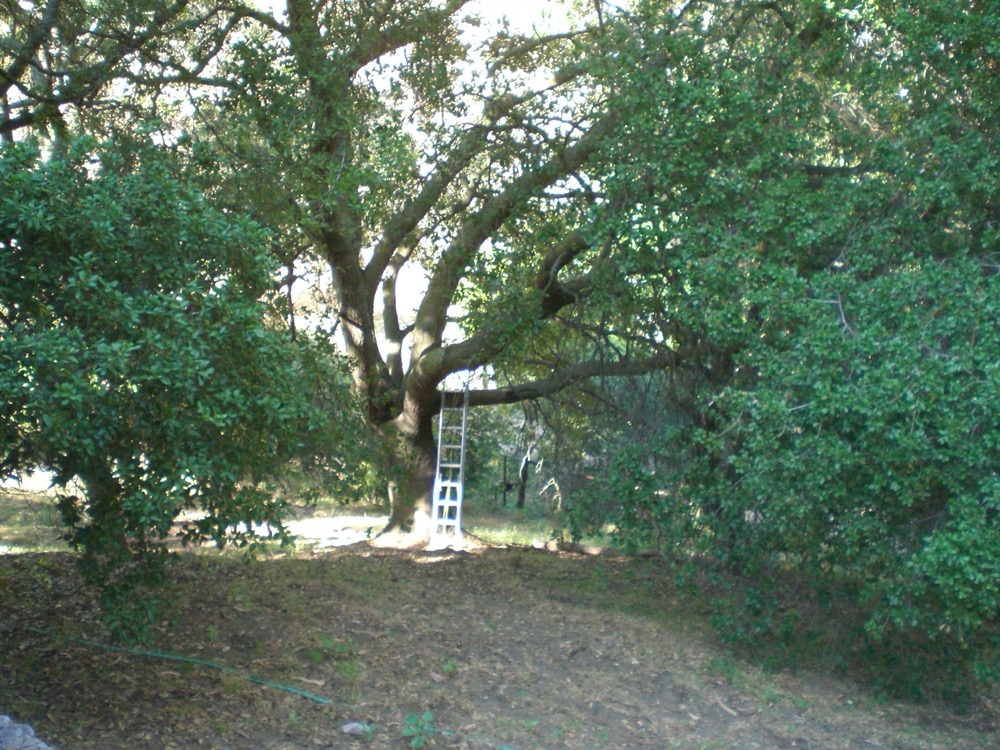
We took our daughter to Disneyland for her ninth birthday and became entranced with the idea of building her a treehouse when we went through what used to be the Adventureland Treehouse. We had the perfect tree for it.
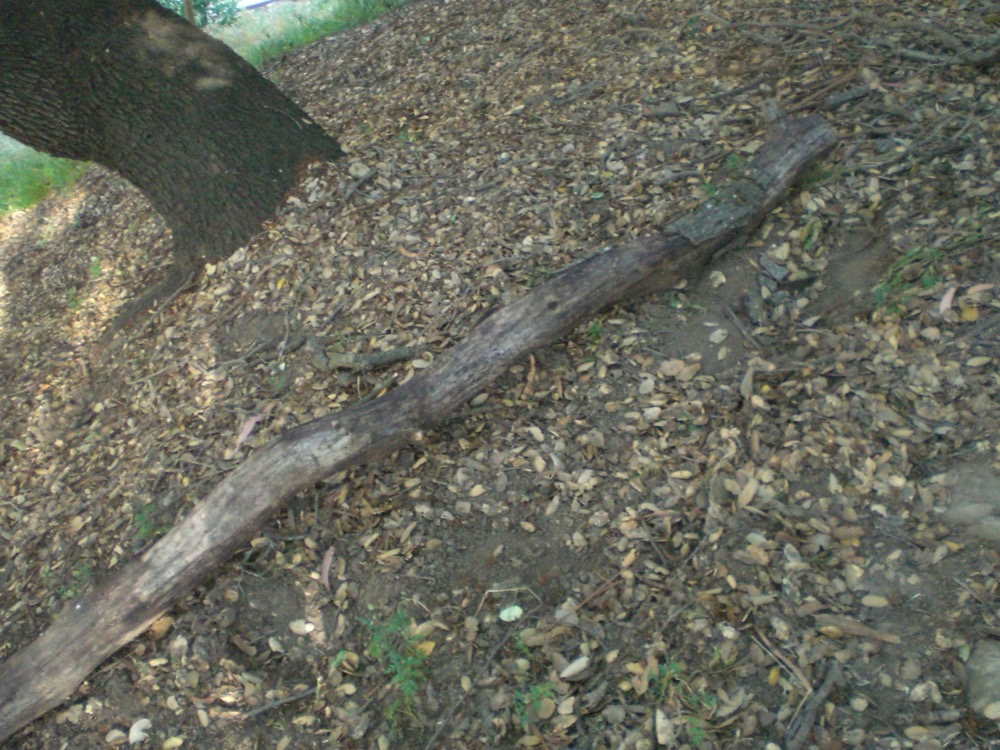
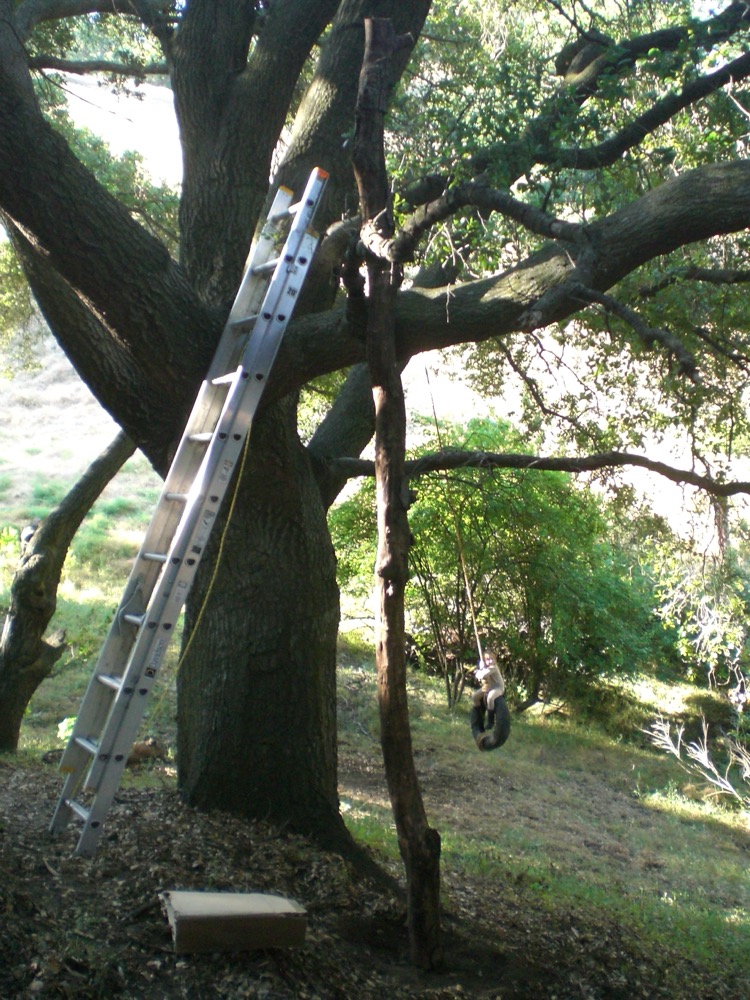
One issue was that we needed an extra trunk to hold one corner of the platform. Fortunately, we found a nice straight log that would work.
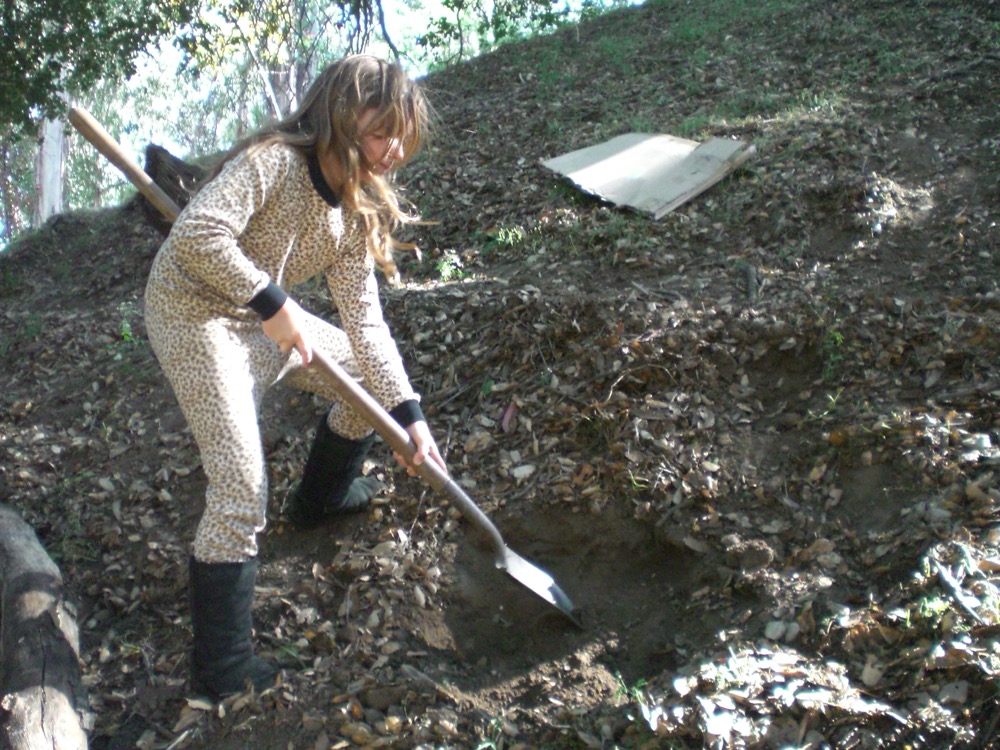
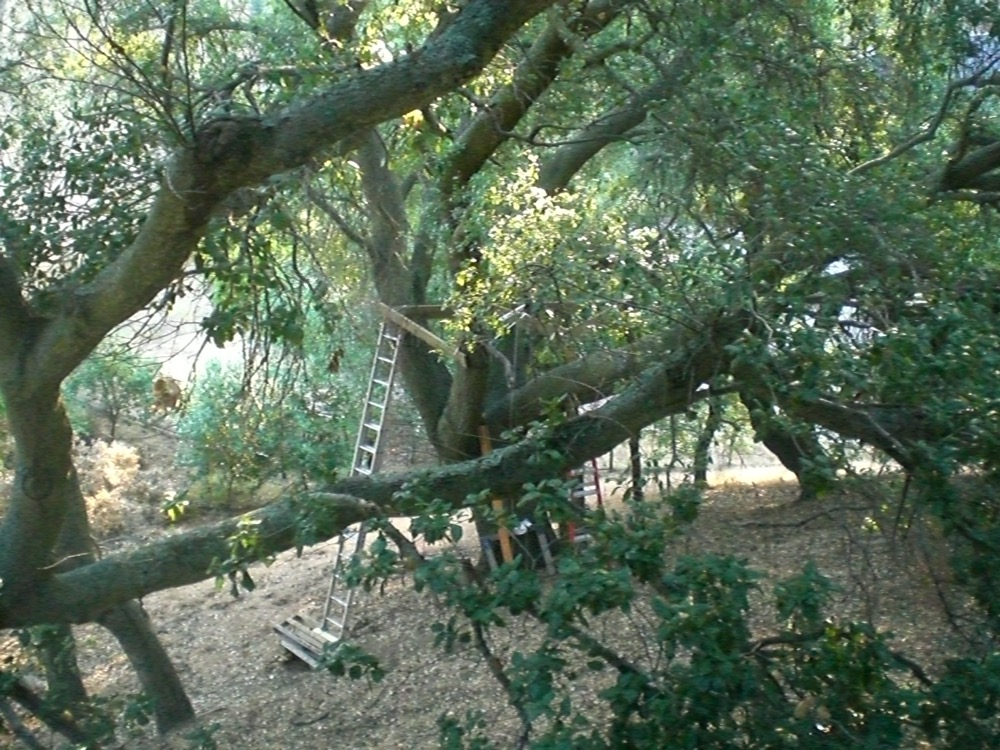
I had a helper to dig the hole to pour in a concrete foundation for the post.
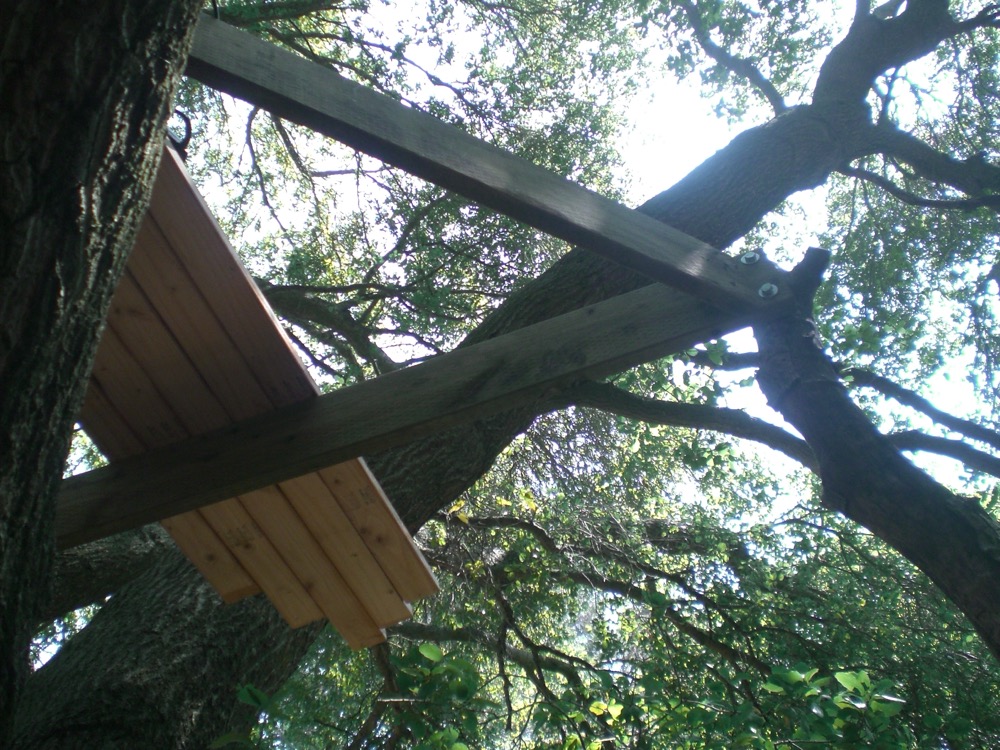
Hole dug, post installed. Ready to build the platform.
I used lag bolts to tie the base platform to the post, making sure the tree branches could move in the wind.
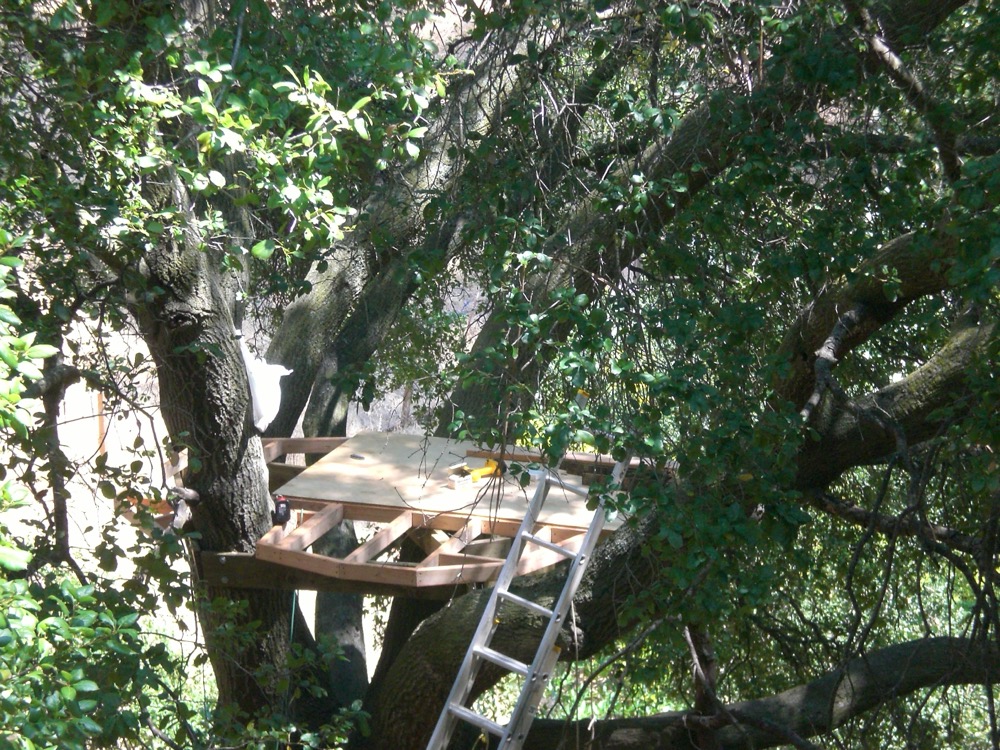
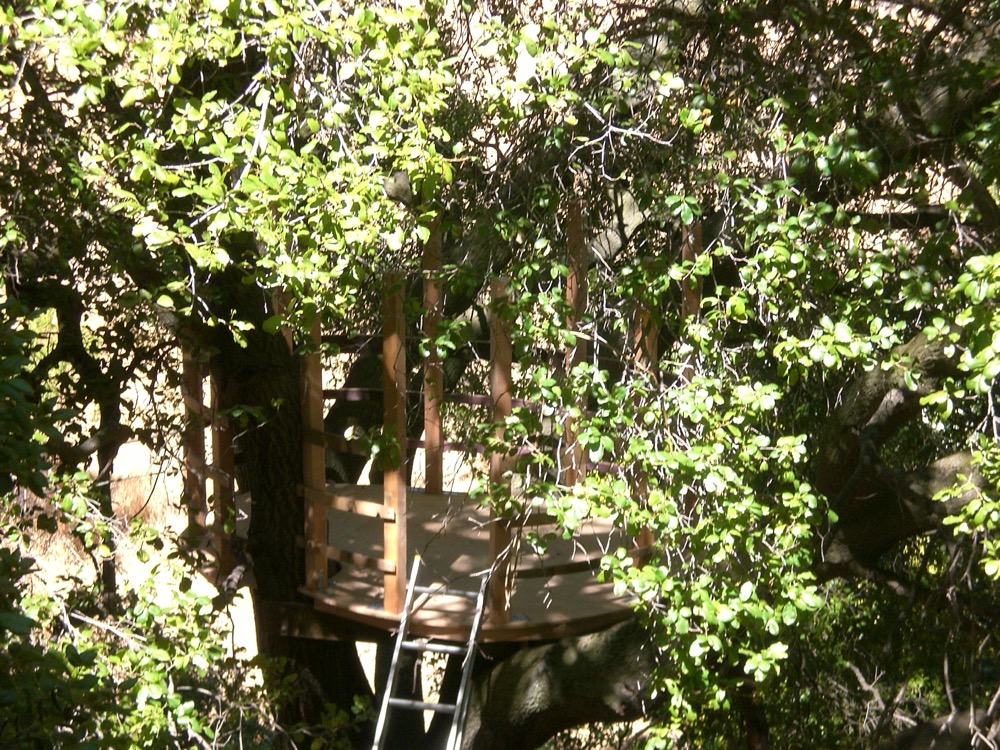
The base platform done, ready for the actual floor.
Second platform studs with plywood flooring.
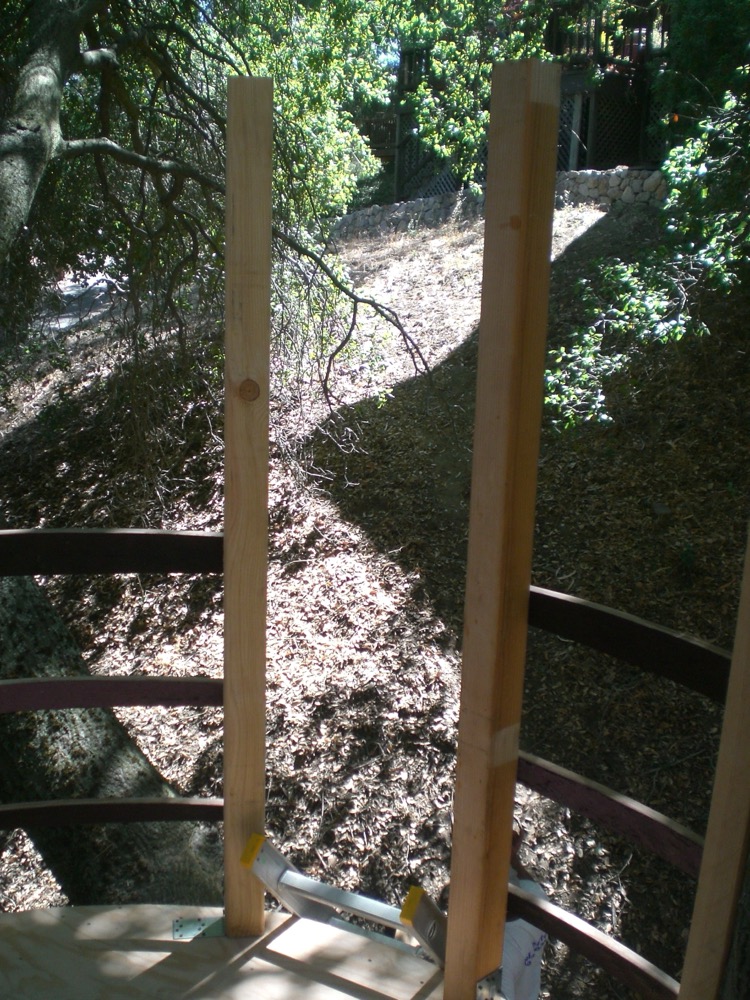
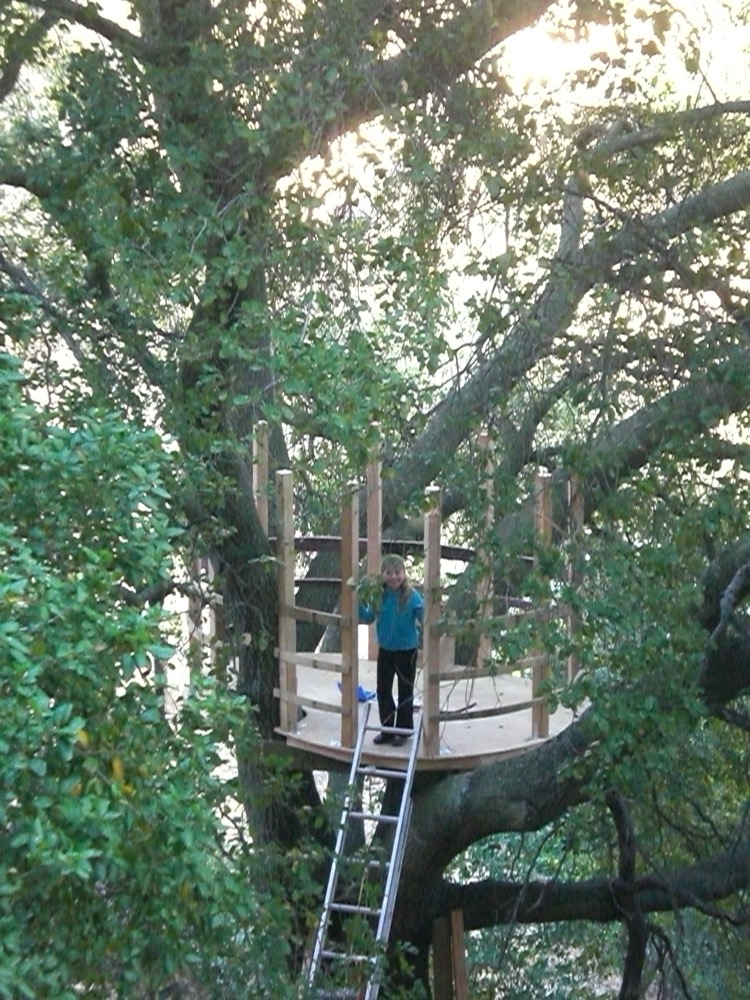
Posts for walls.
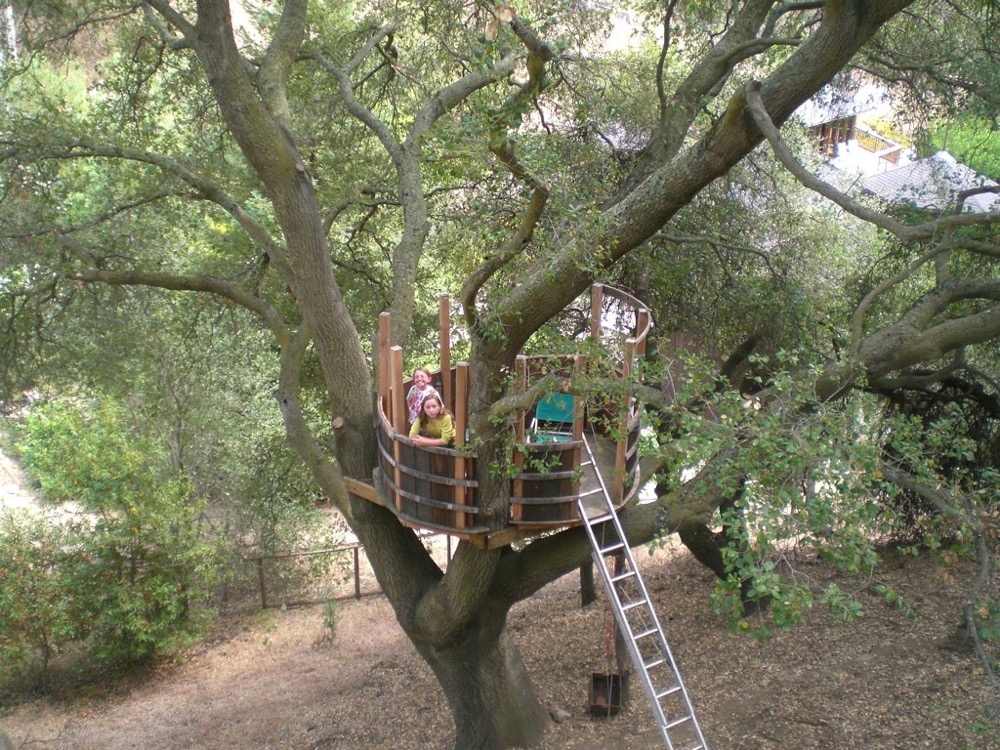
I used to work at a winery and had a couple of discarded barrels. We used these for making the rounded walls.

Leaving a space open for a doorway. I had a dream of making a rope bridge but hadn’t thought how I would do that.
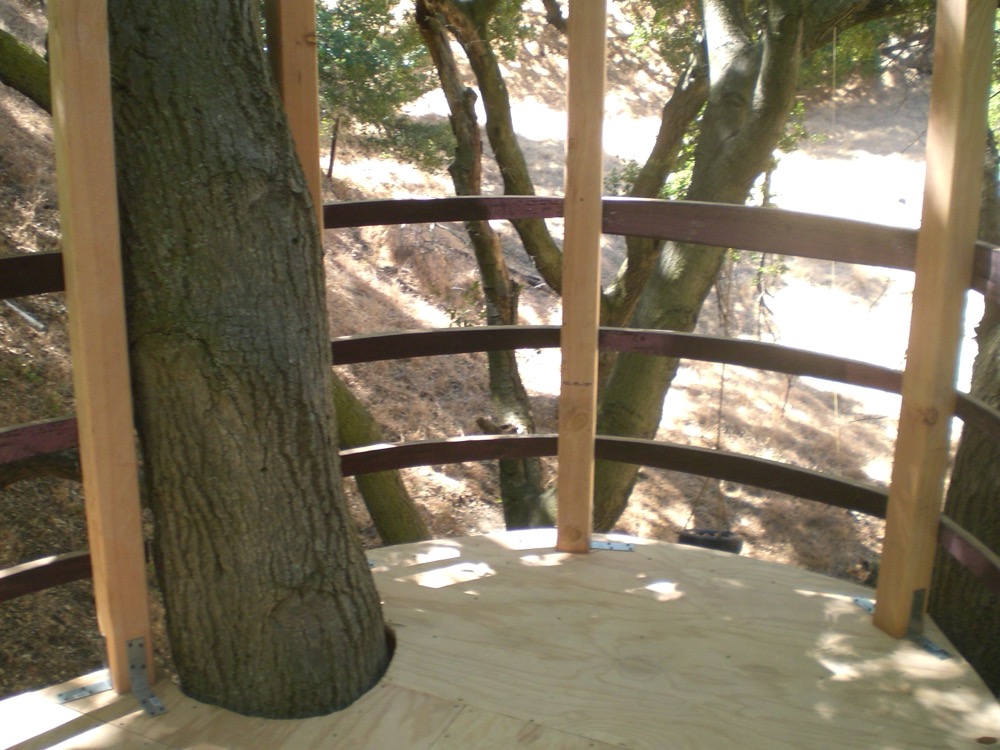
Interior before any walls or roof, looking over the tire swing. Note the space for the main trunk.
Walls done, now needing a roof and some walls.
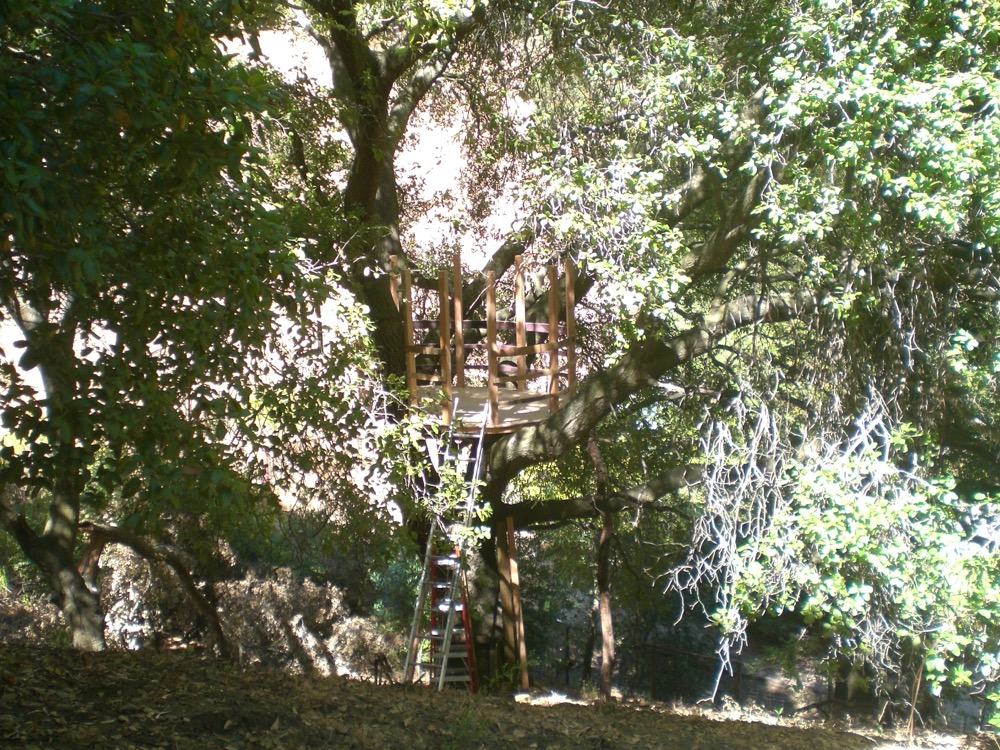
The girl checking it out. She wasn’t worried about the walls (if I recall) but did wonder where the roof was!
The girl and her buddy checking it out. We had added a basket on a pully for bringing up treats.
The fire
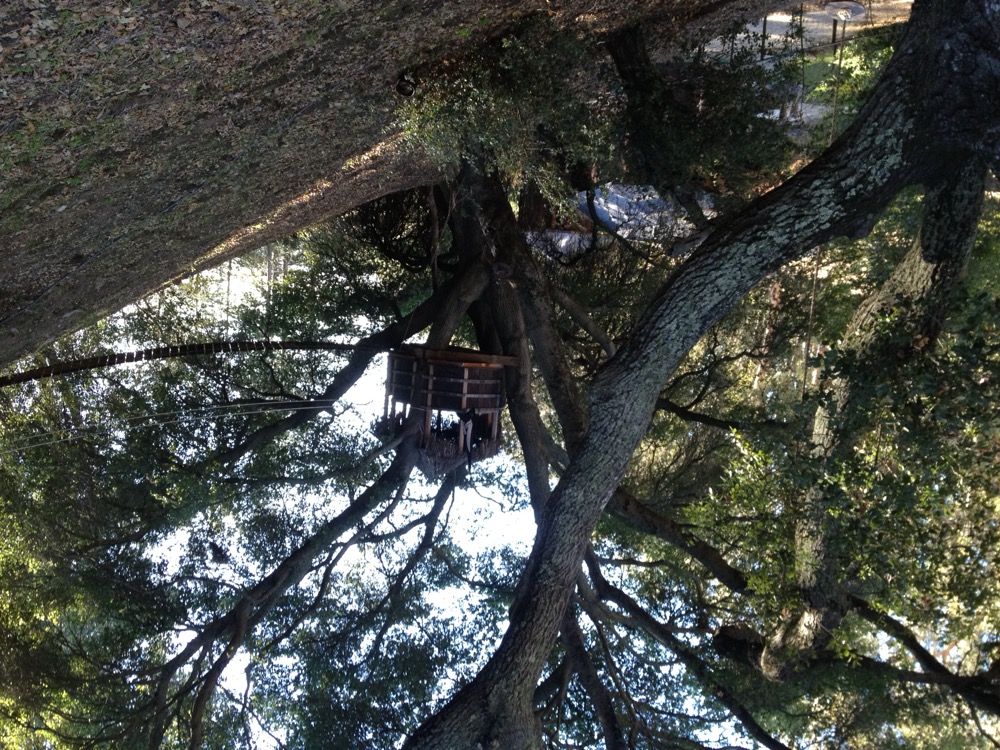
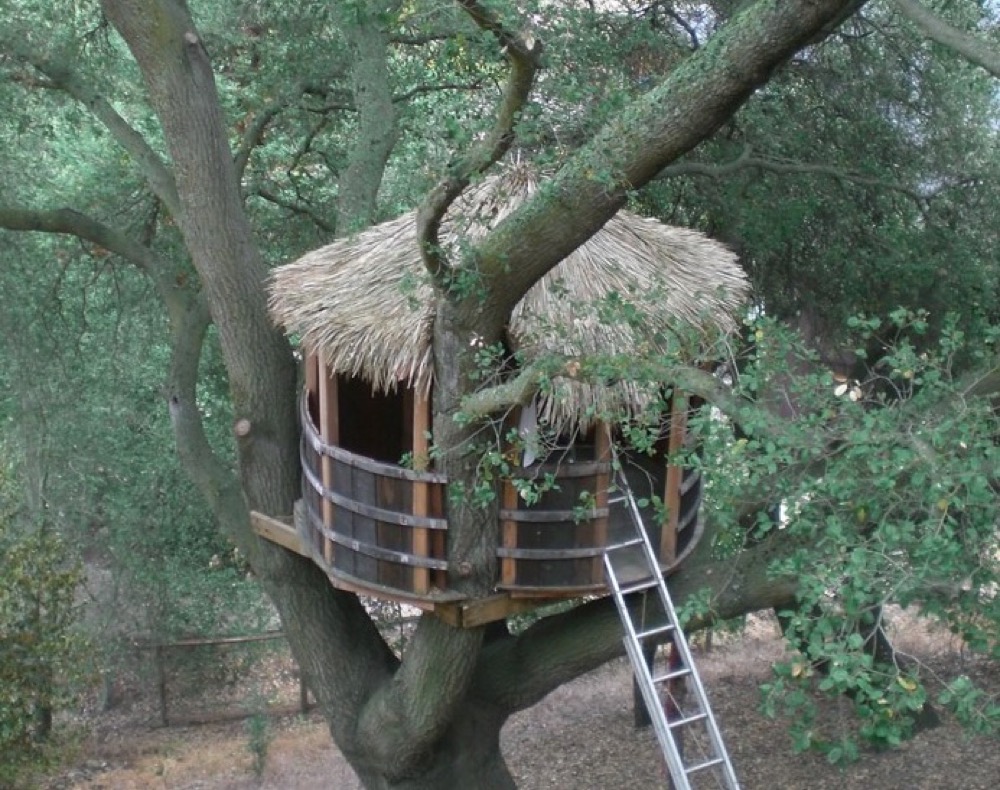
We had gotten this far with the tree house when the fire happened. That put a halt to further work on the tree house for a good while, but as a silver lining, one of the first uses of the salvaged siding was to finish the walls of the tree house. I also finished the roof and we bought some thatch to give it that true Tiki/Jungle look.
We were fortunate to have a great bunch of folk rebuilding the house and one of the many things they did gratis was build the rope bridge (using chains) to finish the whole thing out.