Morgan's Shelves
My daughter was moving to an apartment in Boston with a very tiny kitchen and I offered to make some shelves for her. This used up most of the last of the redwood siding that we had salvaged from the house after the fire. I think I put them to good use!
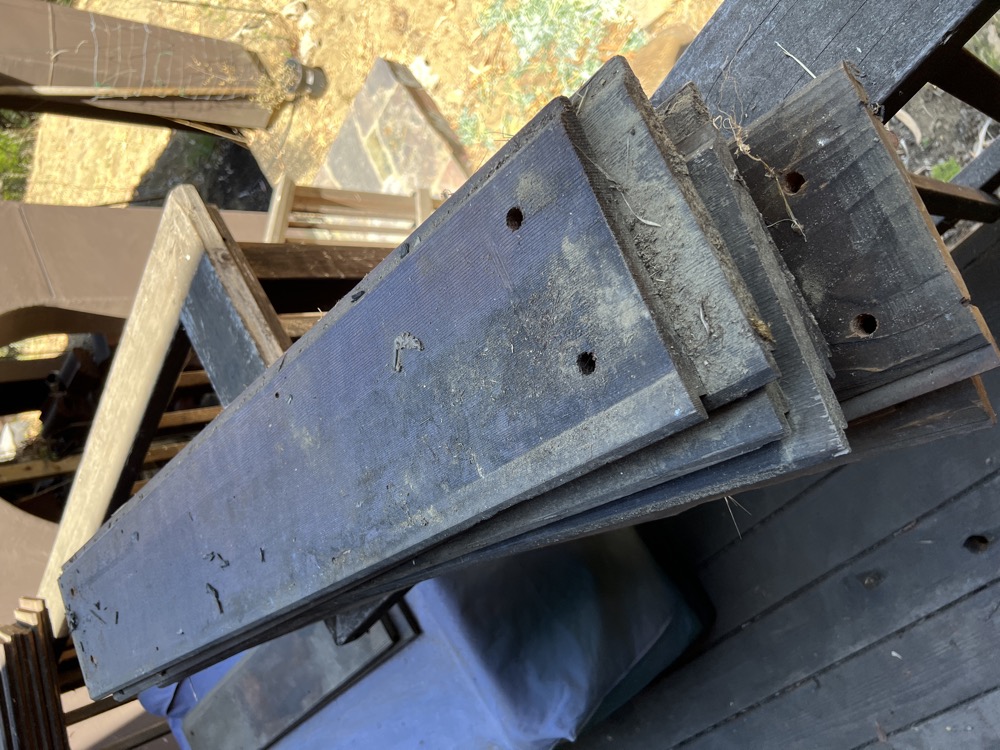
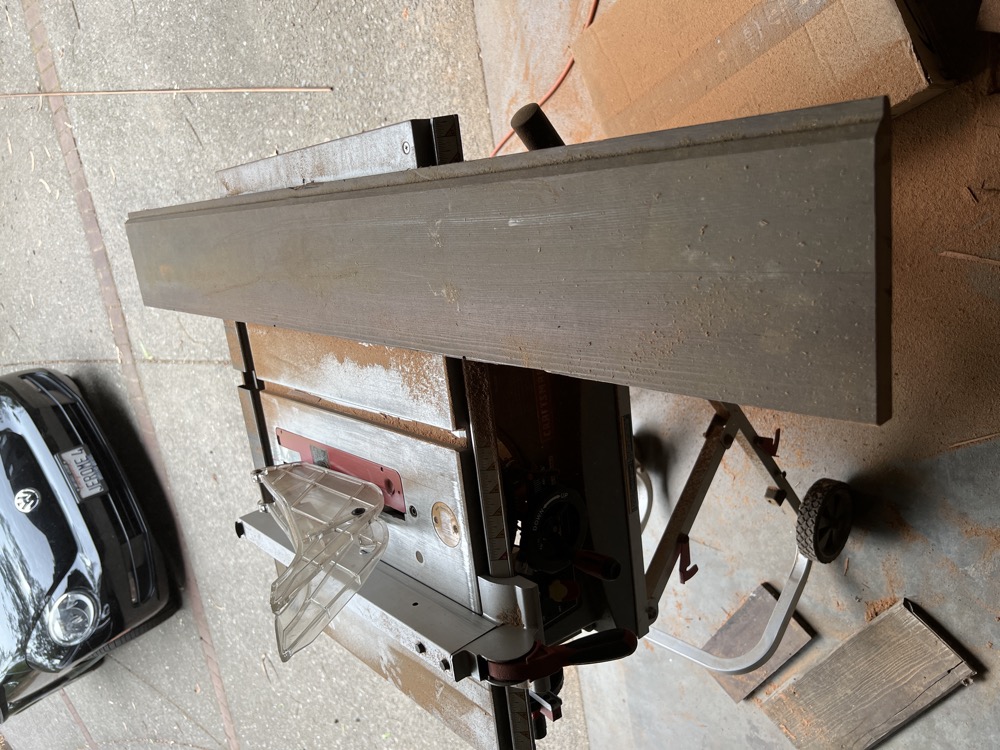
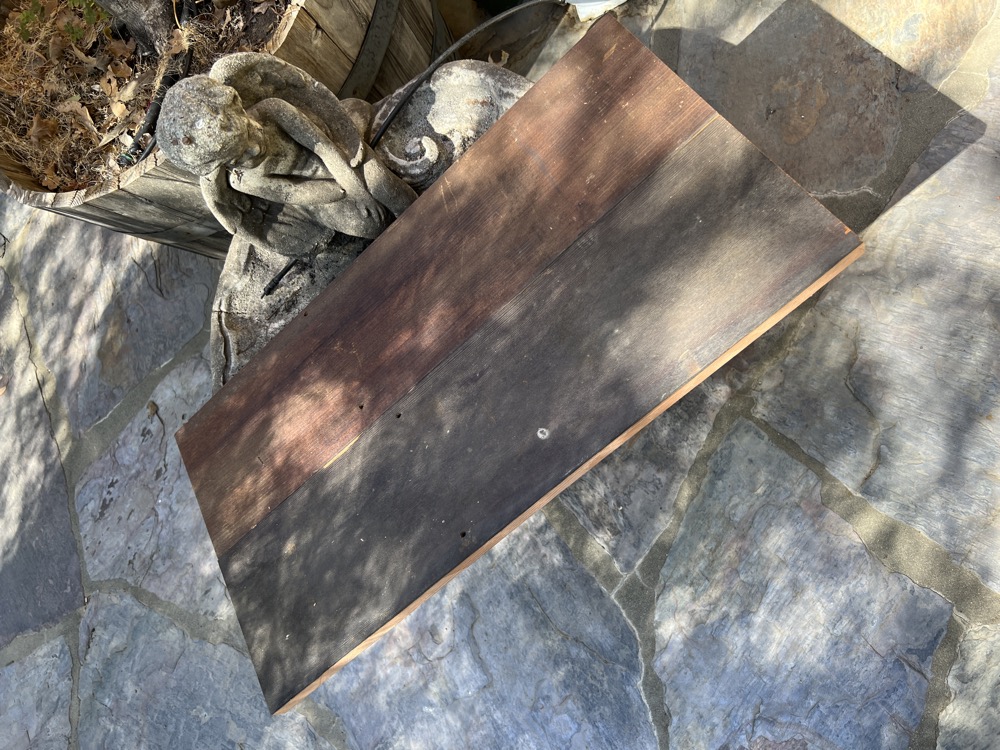
The beginning. One of the constraints of the design was to not buy any wood but use this last of the siding. Fortunately, I had just enough long pieces for the uprights. These will be transformed into the shelves.
Another design goal was for it to pack flat, have adjustable shelves and be able to be rolled if needed. A common design I’ve seen is where you have peg holes up and down the sides of the shelving unit with metal shelf supports with pegs to hold the shelves. One of the shelves I have at home is quite rickety and I wanted to avoid that by having a back frame that the sides, top and bottom would use cam lock connectors to create a solid box. The sides, back, top and bottom would use plain wood pegs and be glued together to also assist with the rigidity.
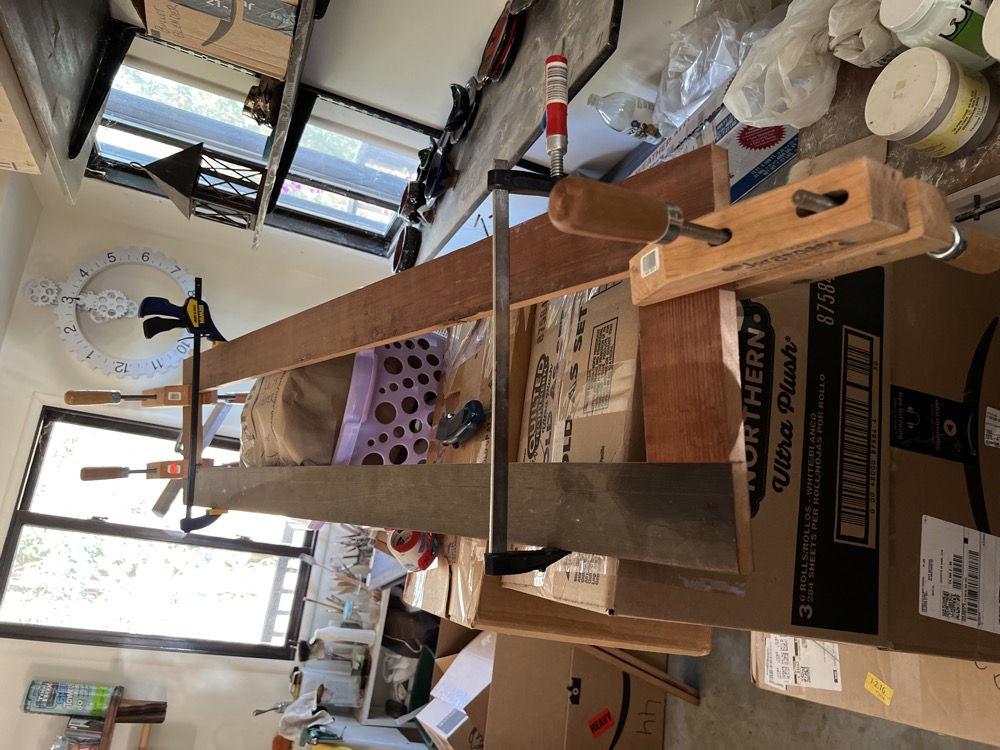
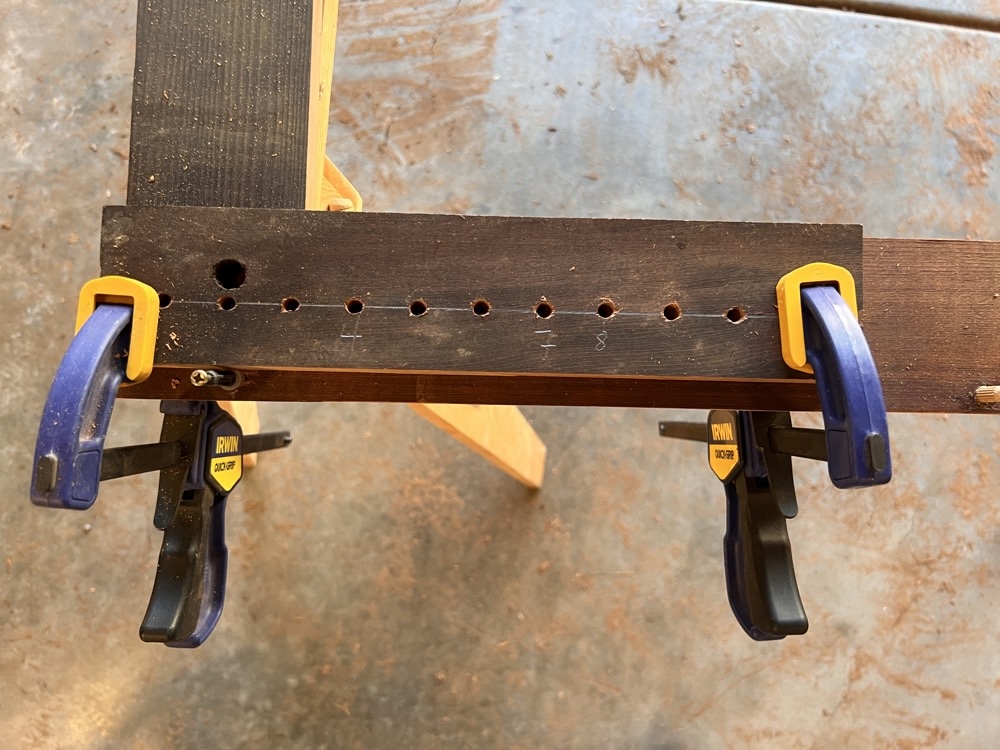
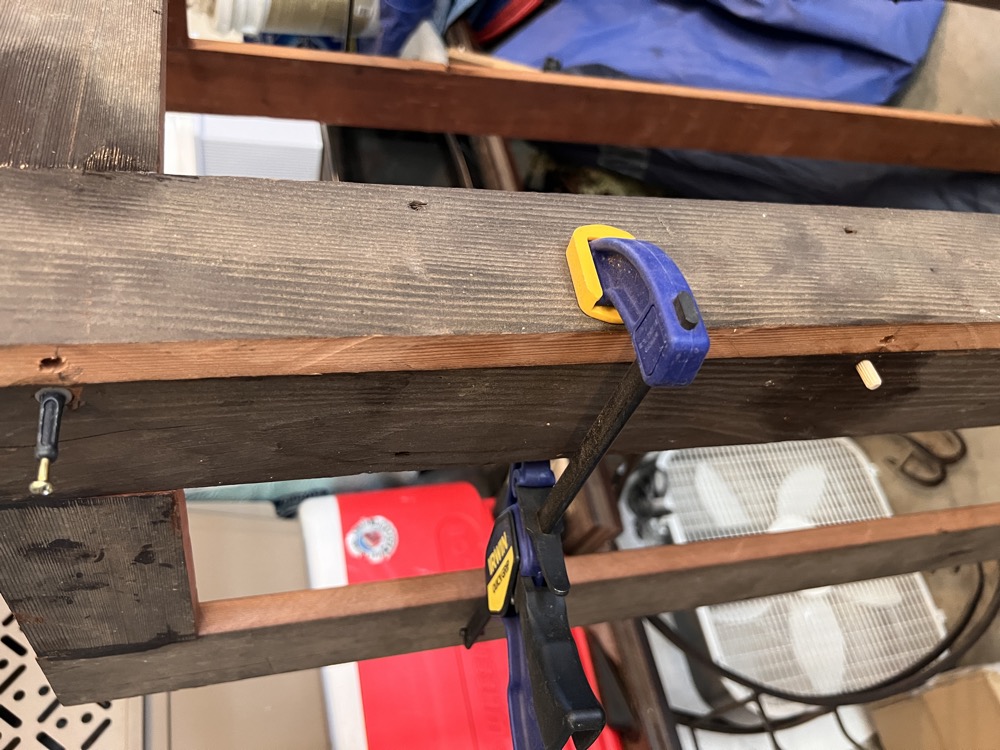
For the back, I needed to jury-rig two clamps to be able to clamp the pieces.

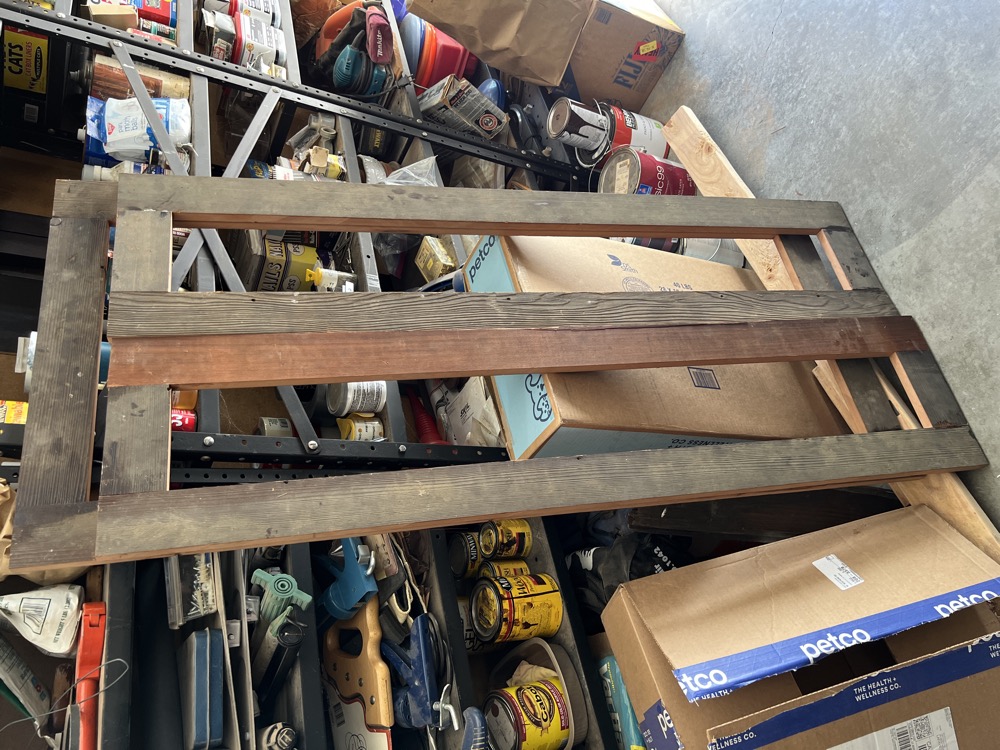
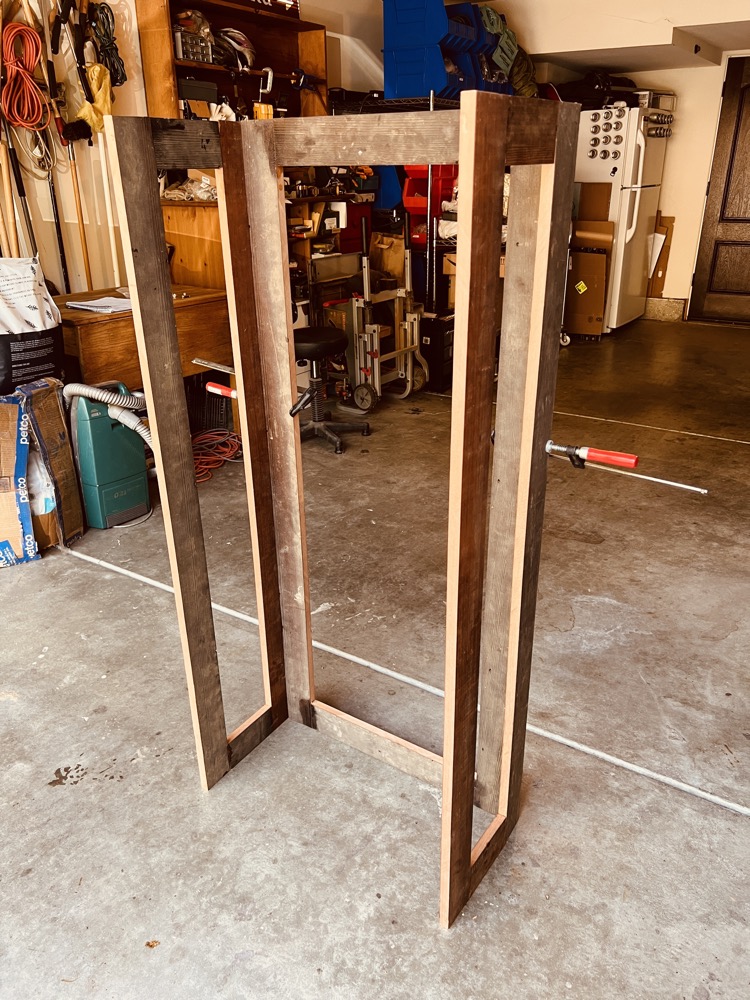
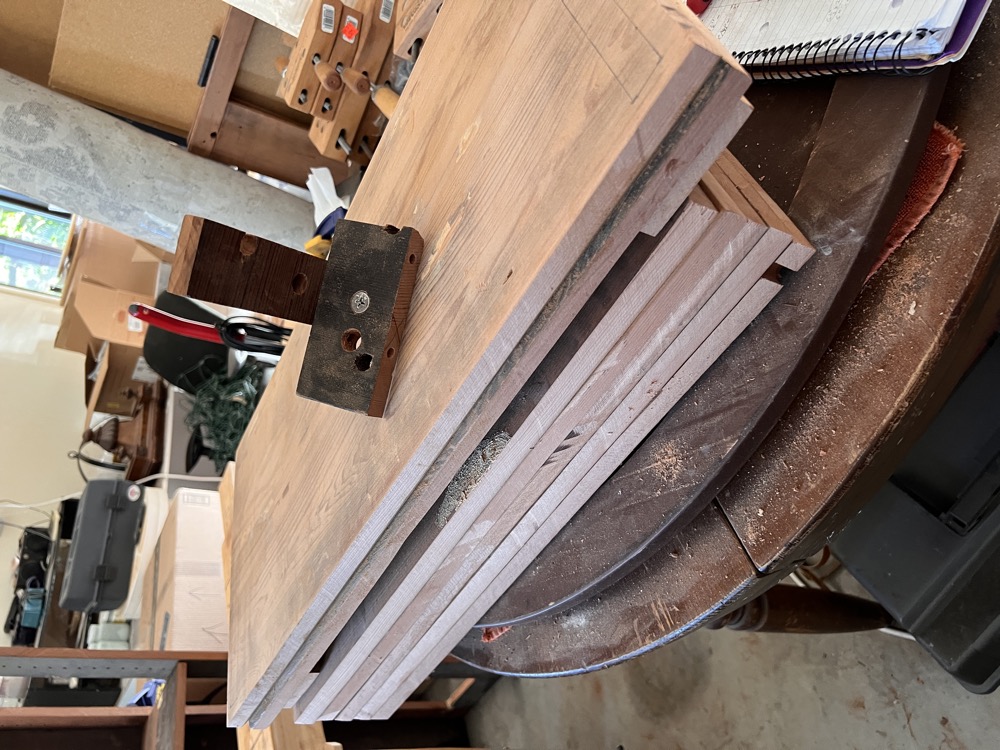
The completed sides in front of the back.
For drilling the holes in the sides, I made a jig from a spare piece of wood with holes spaced 1 inch apart.
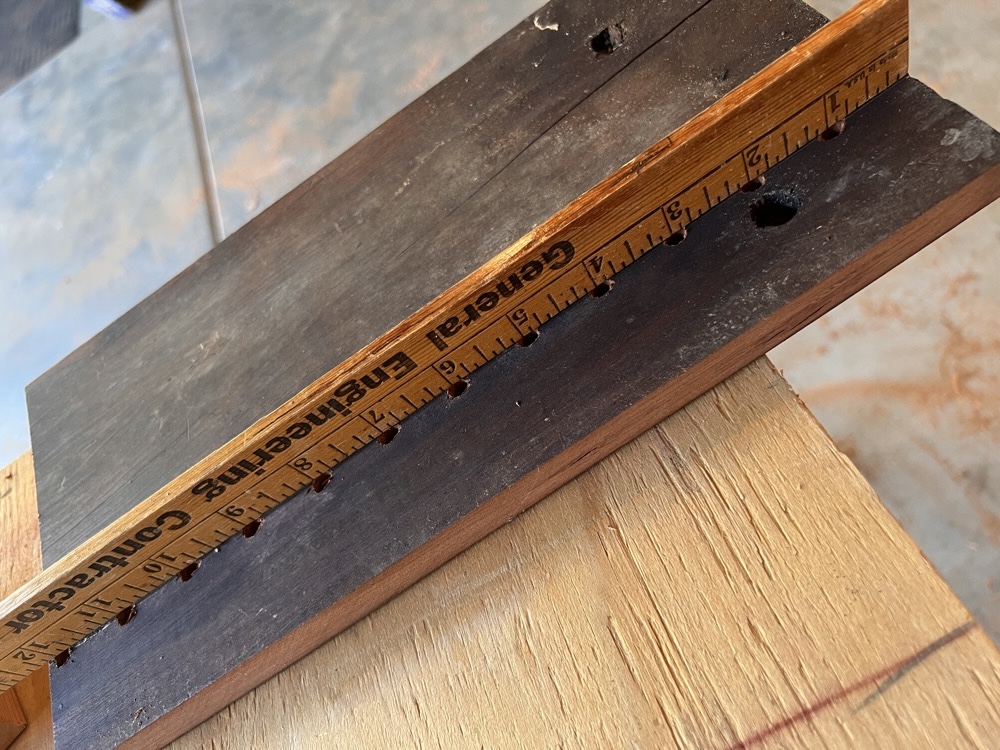
I was able to then clamp it down and use it as a guide going down
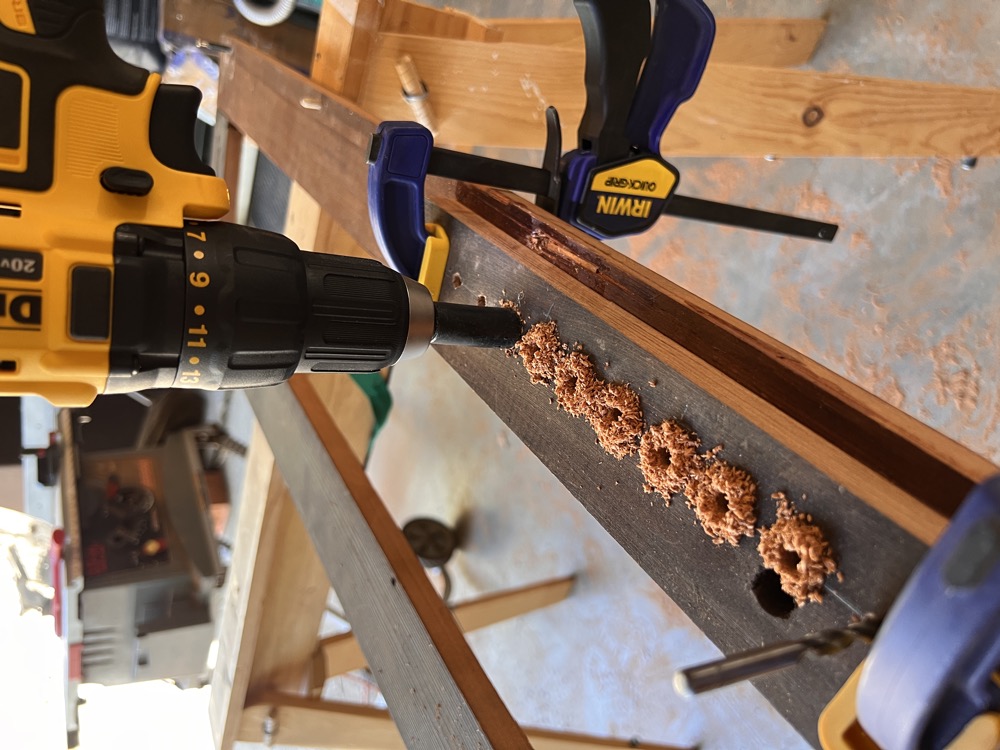
I used a piece of old irrigation tubing to make a “depth gauge” to prevent over- drilling the holes.
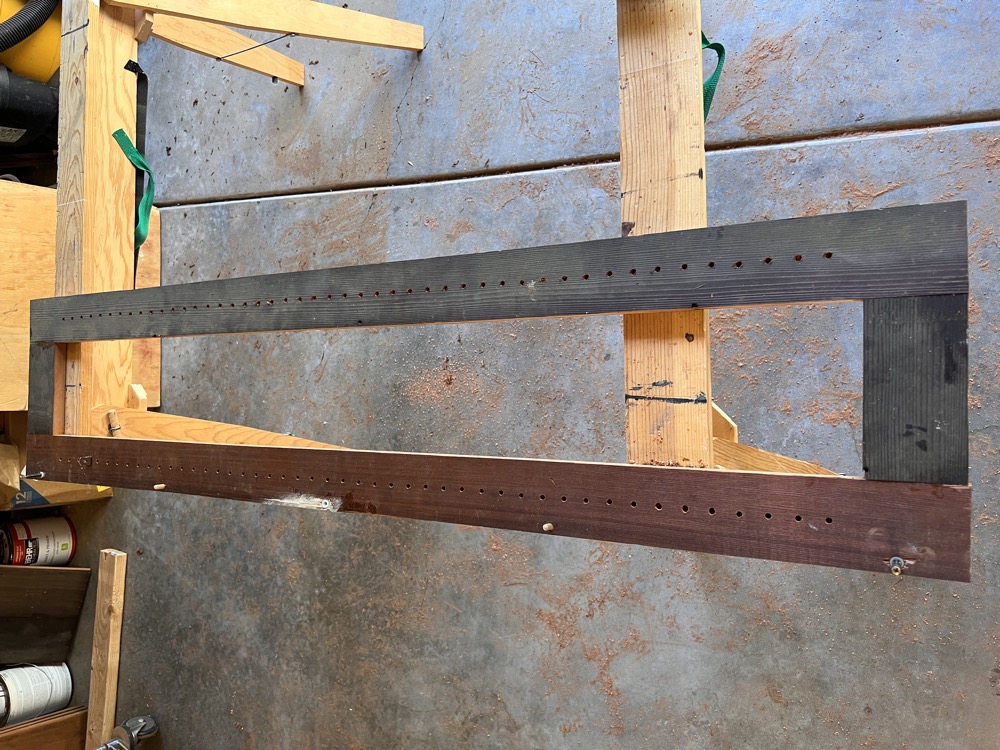
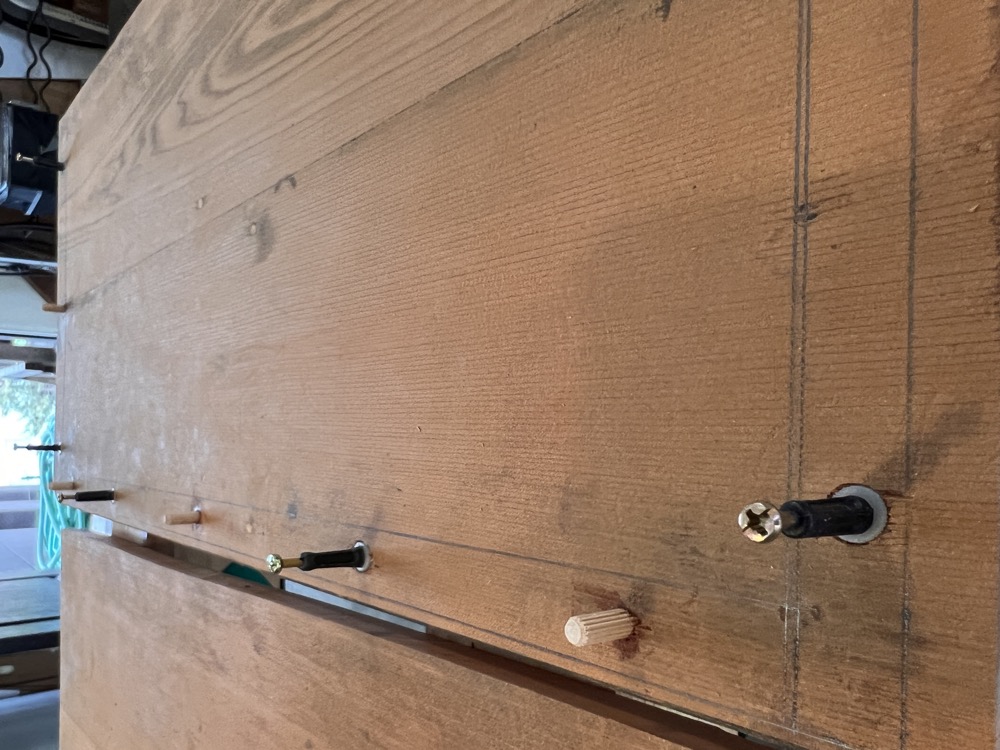
The right side drilled! Notice the pegs on the left? Those are “spacers” to add more stability. They just guide the pieces together to make them fit correctly.
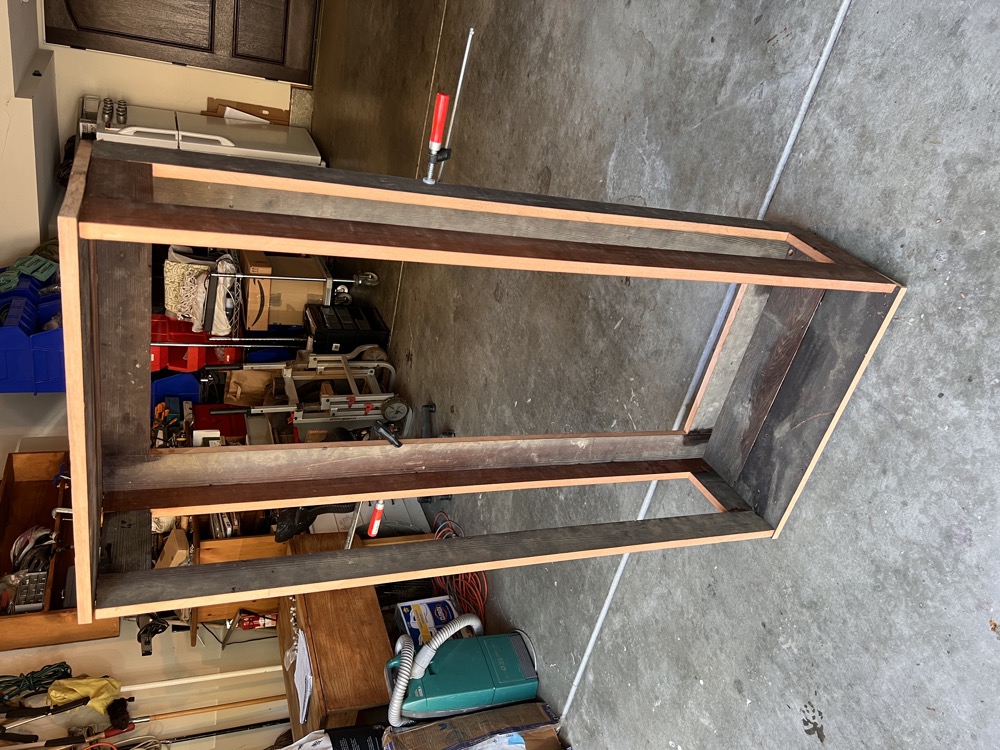
Before continuing, I did a quick ‘fit’ test.
The tops and bottoms are for placement (and sizing) only.
I clamped the sides and back together in reverse to give more guidance that I was in alignment for the cam locks.
With the sides and backs done, it was time to move onto the shelves. Originally, I had planned to only have the bare minimum number of shelves, as she was going to use this to hold her microwave and coffee maker, but as I had enough wood, I thought to make it a full bookshelf as who knows where it might get used on a future day!
I drilled holes for wooden pegs and glued the two pieces together for each shelf , top and bottom.
Testing the first ‘finished’ shelf for fit in the main unit.

The finished shelves, top and bottom. Note the ‘feet’ for the bottom. Also note that I drew rectangles on the top piece for where the sides and back would go.
The finished base, with pegs and cam locks.
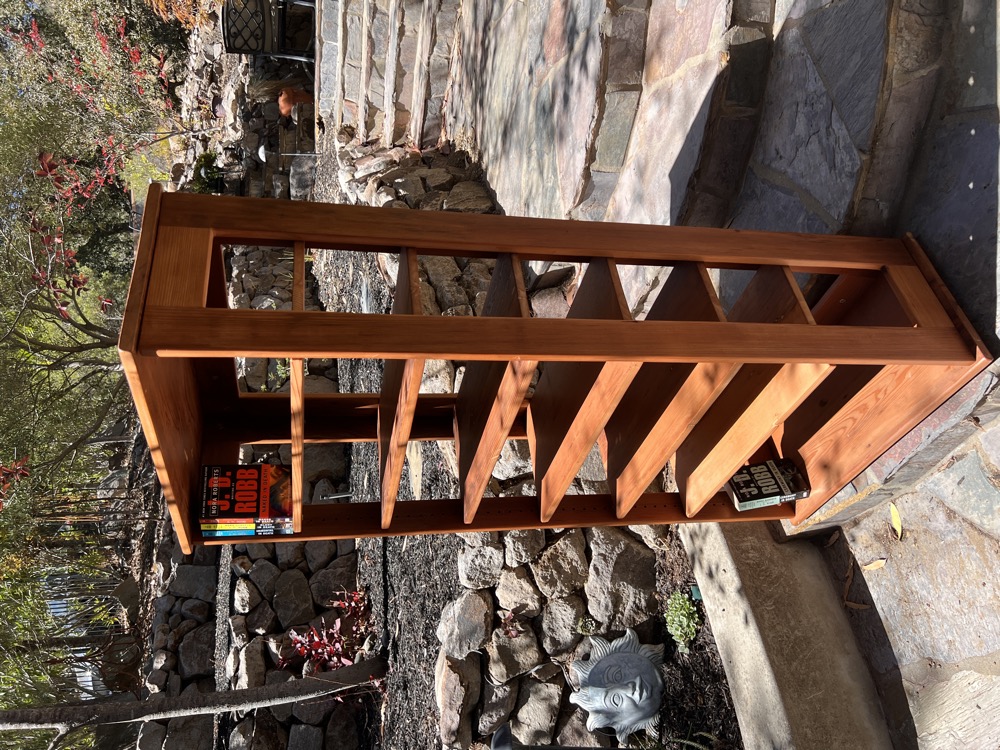
The finished bookshelf, holes filled, stained and assembled.
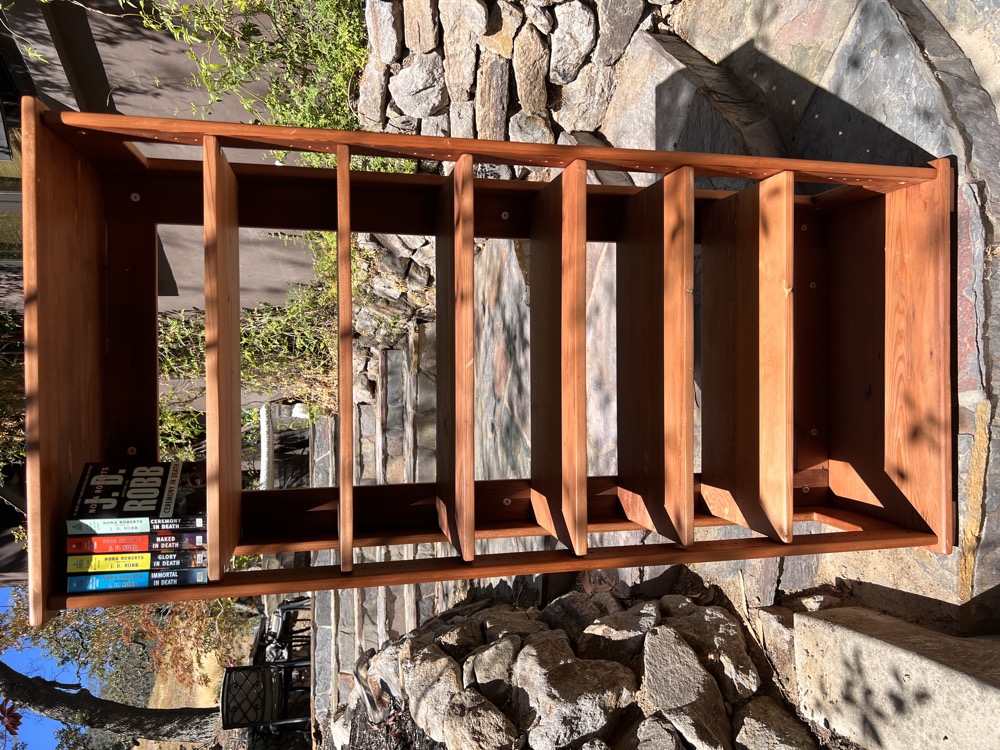
The finished bookshelf, from the left.
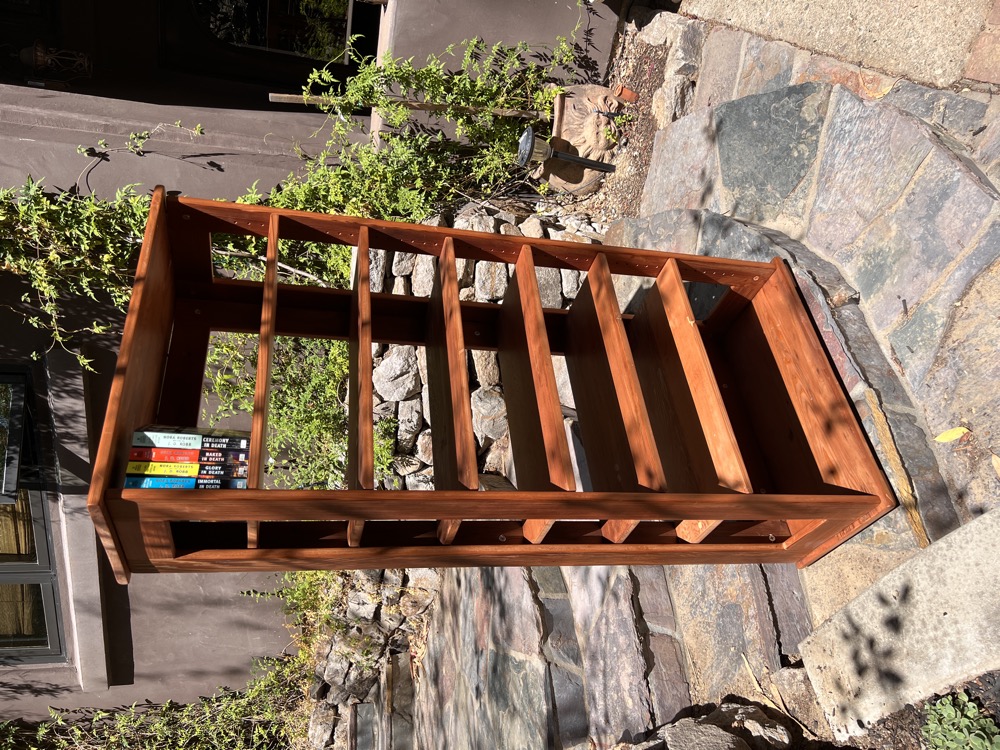
The finished bookshelf, from the right.