A Cribbage Board for Mama
My wife and I love to play cribbage, but we (I) have never been happy with the boards we have. I decided to make a custom, dragon-themed board for her for Christmas, and, as per usual, from the salvaged redwood. Turns out redwood isn’t the best wood for a cribbage board. Think of this as a prototype.
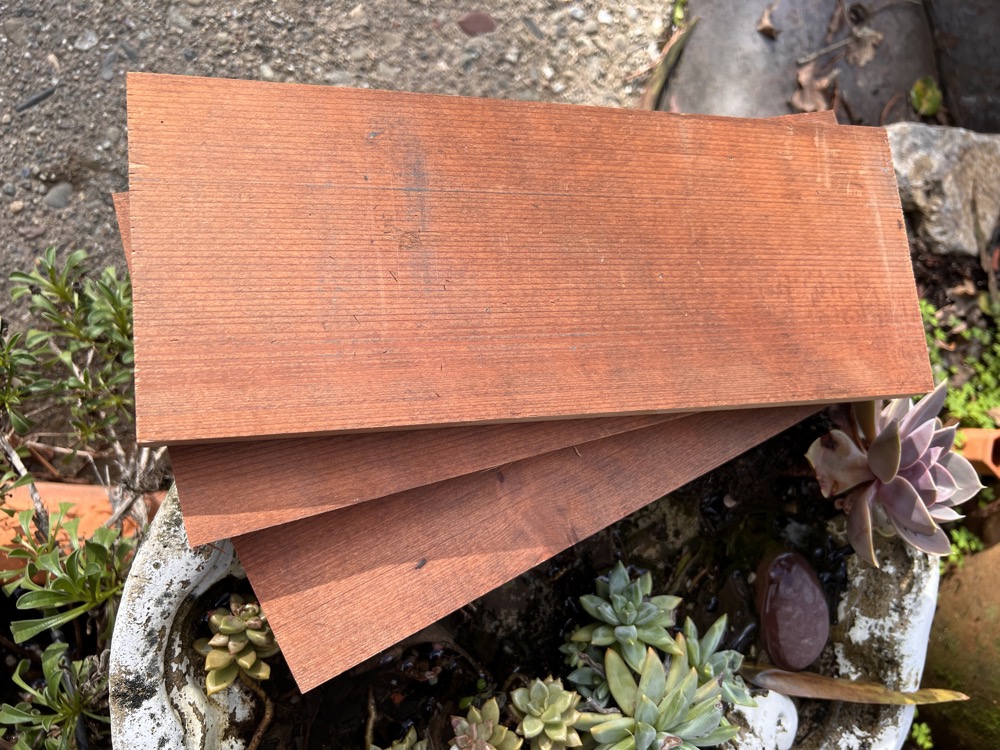
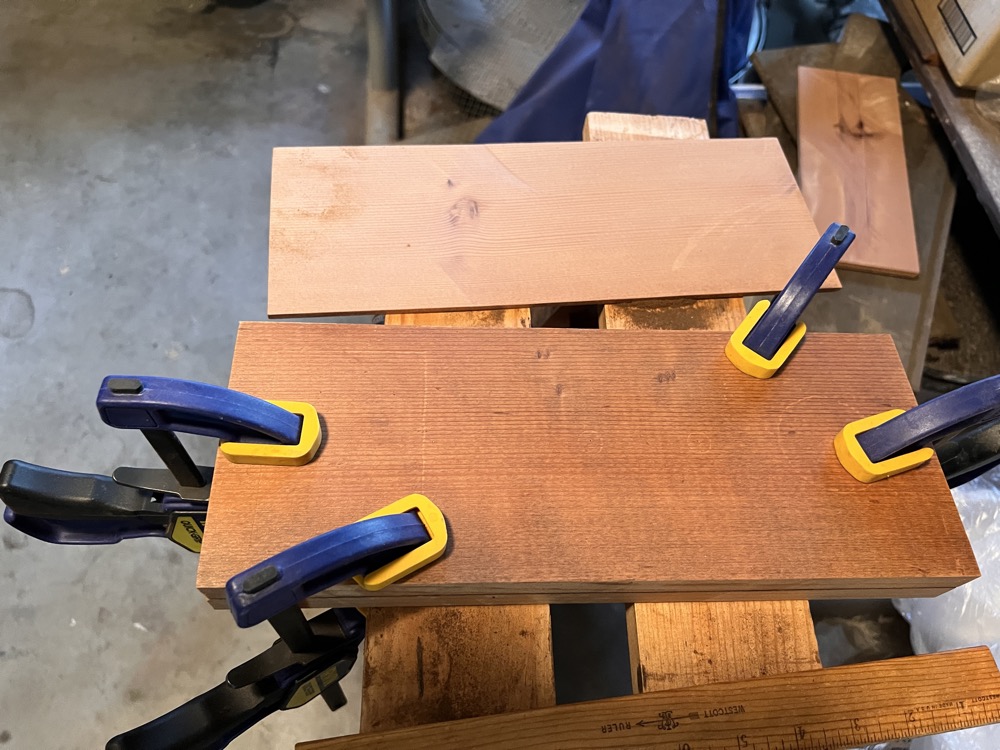
As with many of these projects, I already had the wood. I was able to find some redwood pieces that had a nice grain.
I wanted a board that:
- Had the correct number of holes!
- Had the holes symmetrically placed!
- Had space inside for both the cards and the pegs
- …and was easy to get to
- … and was nice looking 1
My plan was to have two boards, the top for the pegs and the bottom that would hold the cards and the pegs. I had an idea of using magnets as the hardware that would act as both hinge and fastenter and the magnets would be the only material I would need to buy (I already had some spare metal pegs that would work.)
I had seen a number of great photos of delicately detailed wood-burning work of maps and various art and I thought I could use the same technique for my dragon art.
Before I dug into design, let alone the manufacturing, I wanted to make sure I could make a servicable dragon head, using the tools I had, which was a plain medium sized soldering iron.
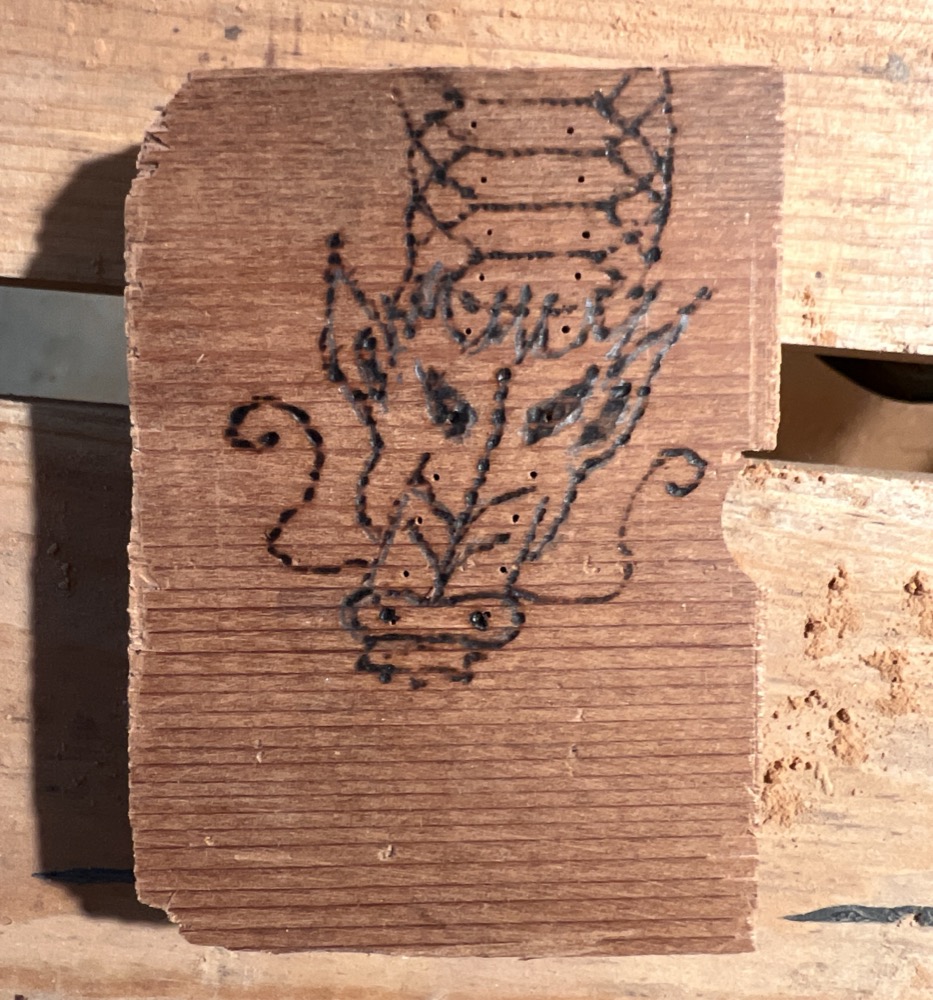
As you can see, the wood burning on the redwood is a bit spotty where it crosses the grain. But I thought it was acceptable and pushed forward into the design.
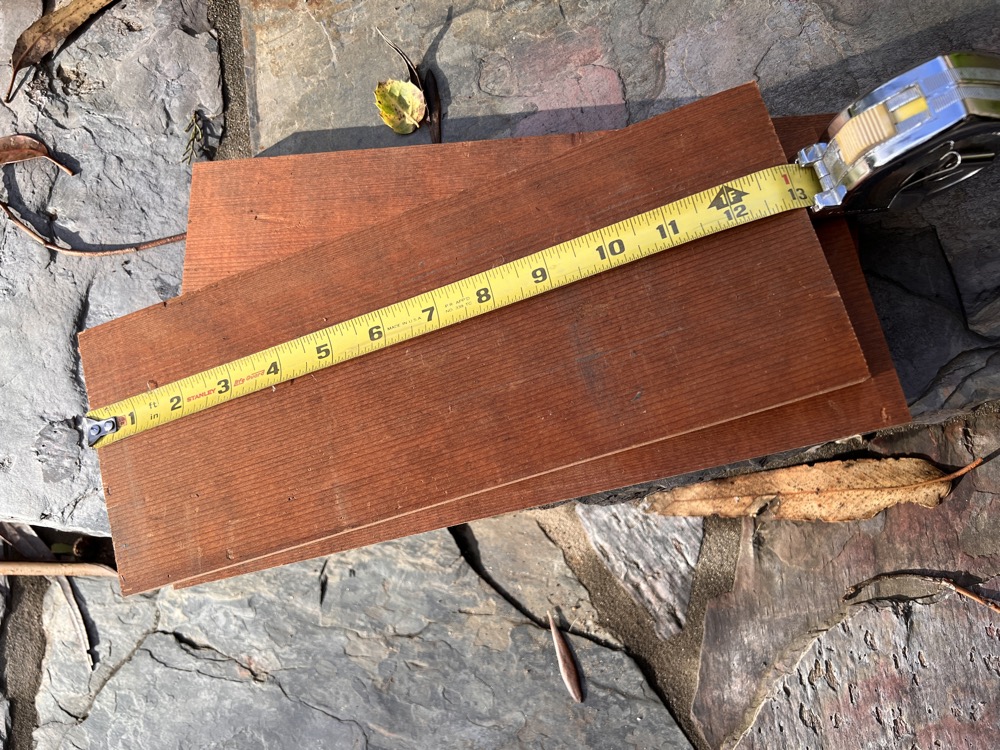
When I measured the dimensions, I realized that the bottom board was not quite thick enough to accomodate the cards and so I would need to make a sandwich with a very thin piece for the bottom most layer.
I was unable to find a suitable design online to adapt and so made my own. I first went with a standard straight lane version.
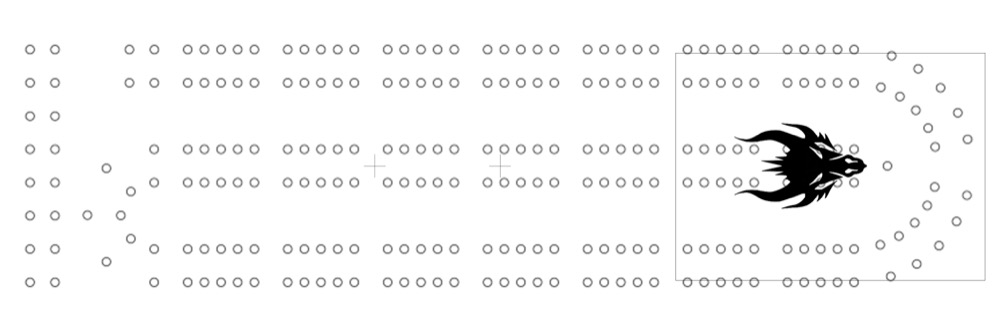
But then decided a wavy version would both look more like a dragon and hide any slight errors I made in drilling. I also upped the size to better fit my 5”x13” boards.
The bold parts of the diagram are for a peg hole, two magnet holes (one to be the central swivel, the other to be the catch), a rectangle for the deck of cards and a last hole to be finger hole for removing the deck. The dragon heads were for placement only.

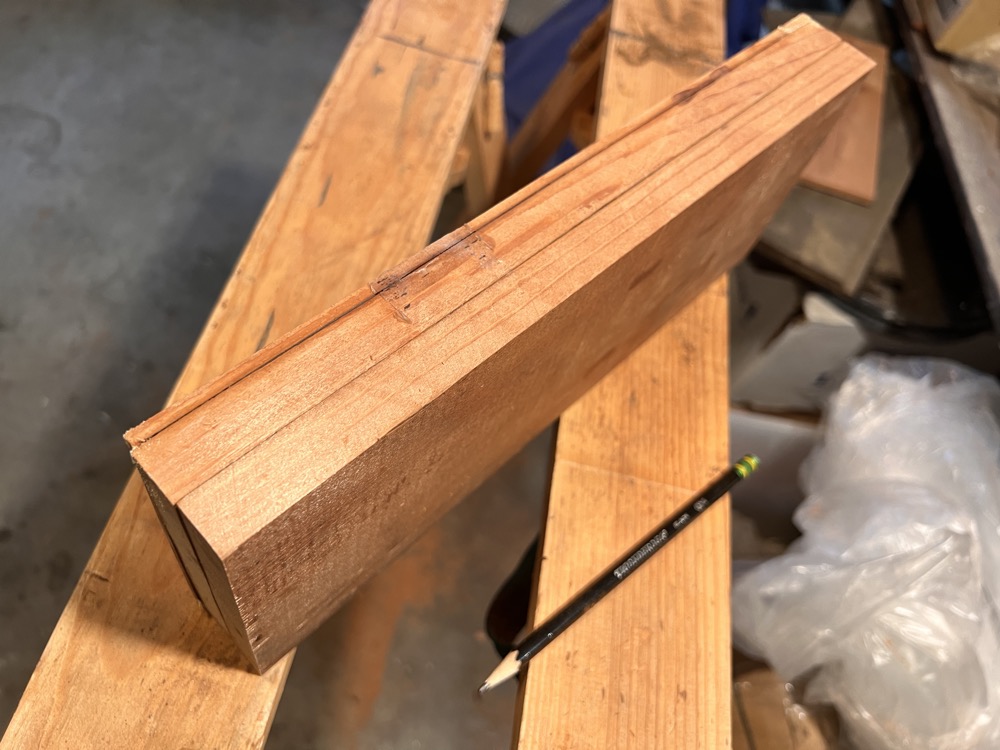
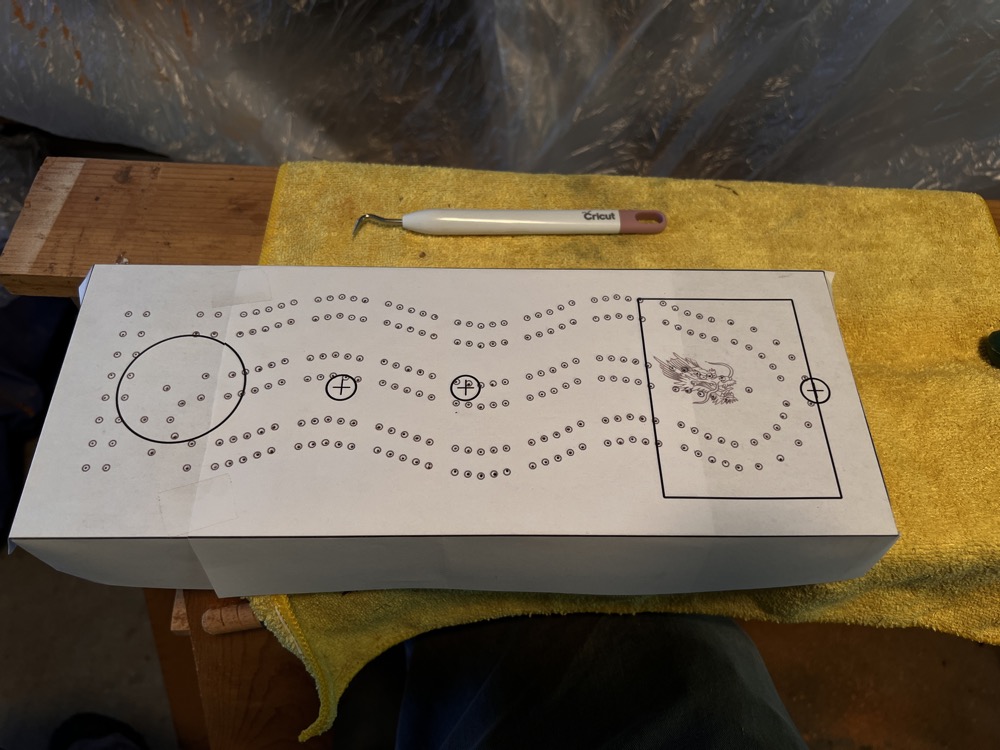
I scored the pattern from the design, cut out the peg hole and the area for the cards and glued the two bottom pieces.
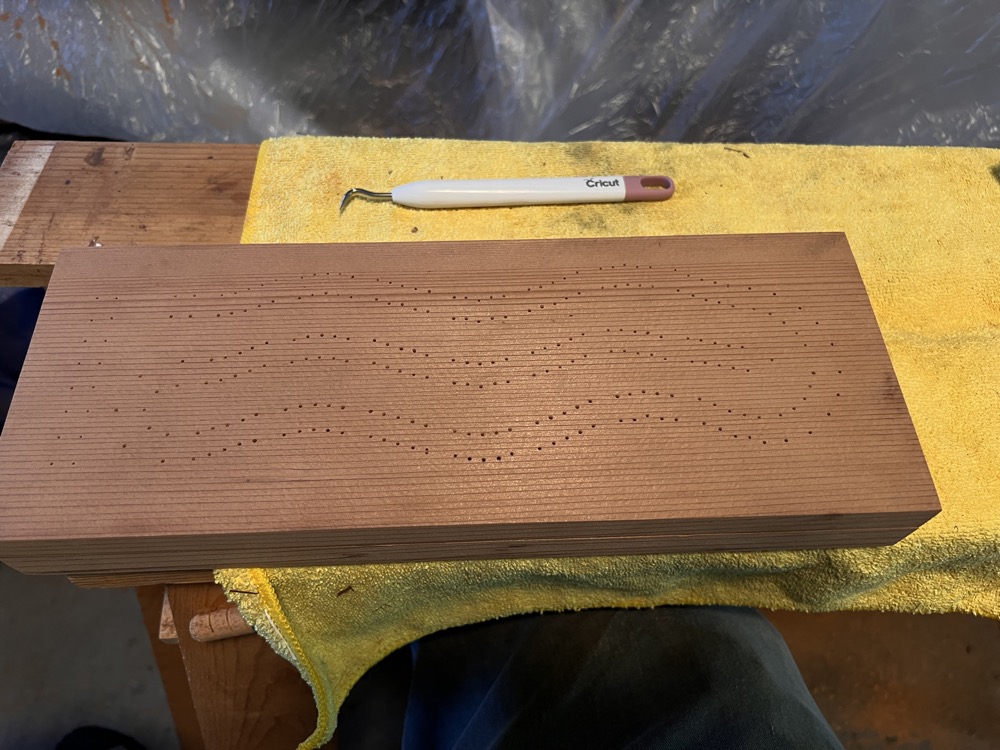
I fitted the pattern over the top and used a Dremel drill press to drill each hole.
In hindsite, it might have been better to have put on a hard lacquer coating to prevent the holes from fraying.
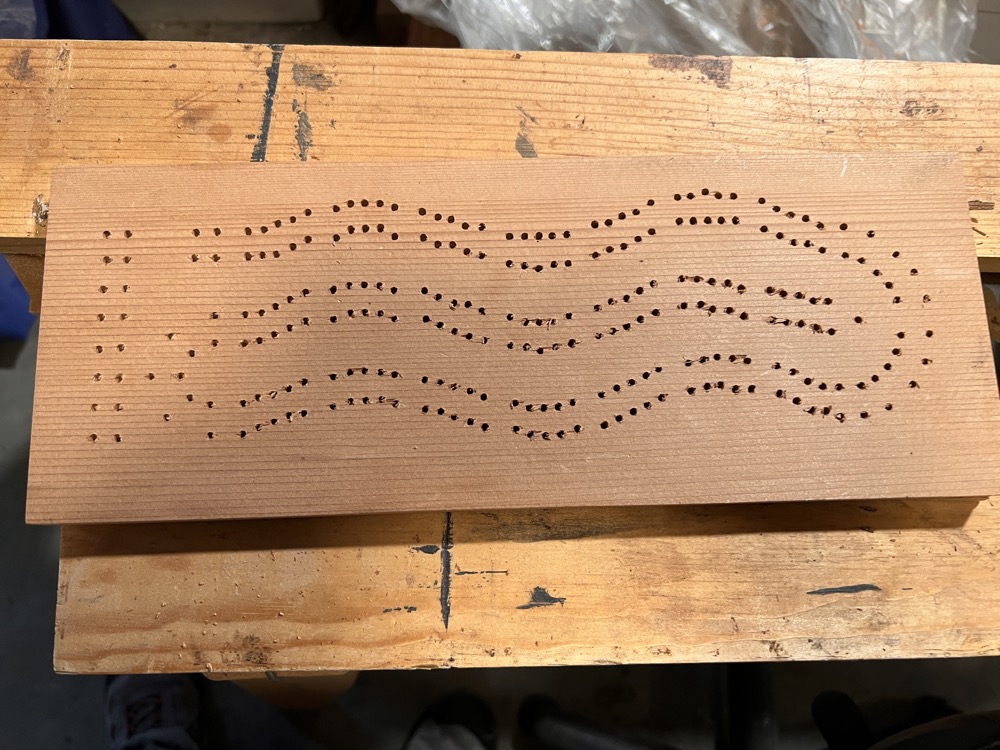
The other issue was that the drill holes were just a bit too small (and the next bit up was too big), so I used a tool that came with my Cricut to both smooth the holes and also widen them.
I then used my soldering iron to draw in the pattern. This was by far the most tedious, time consuming part of the project.
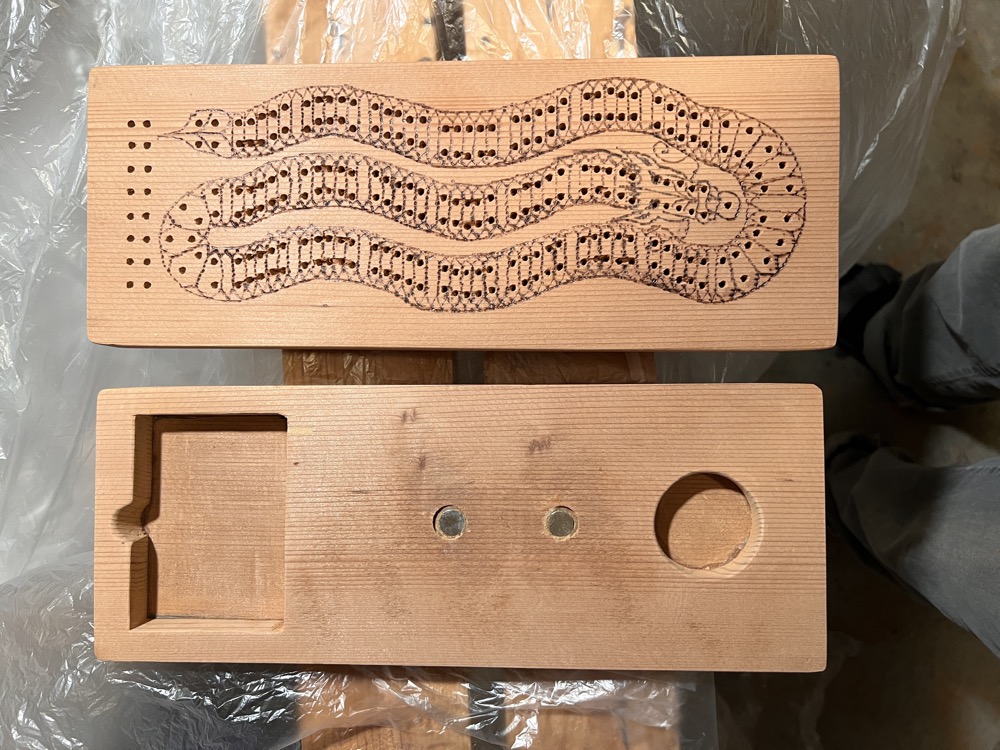
The final board, ready for staining & finishing.
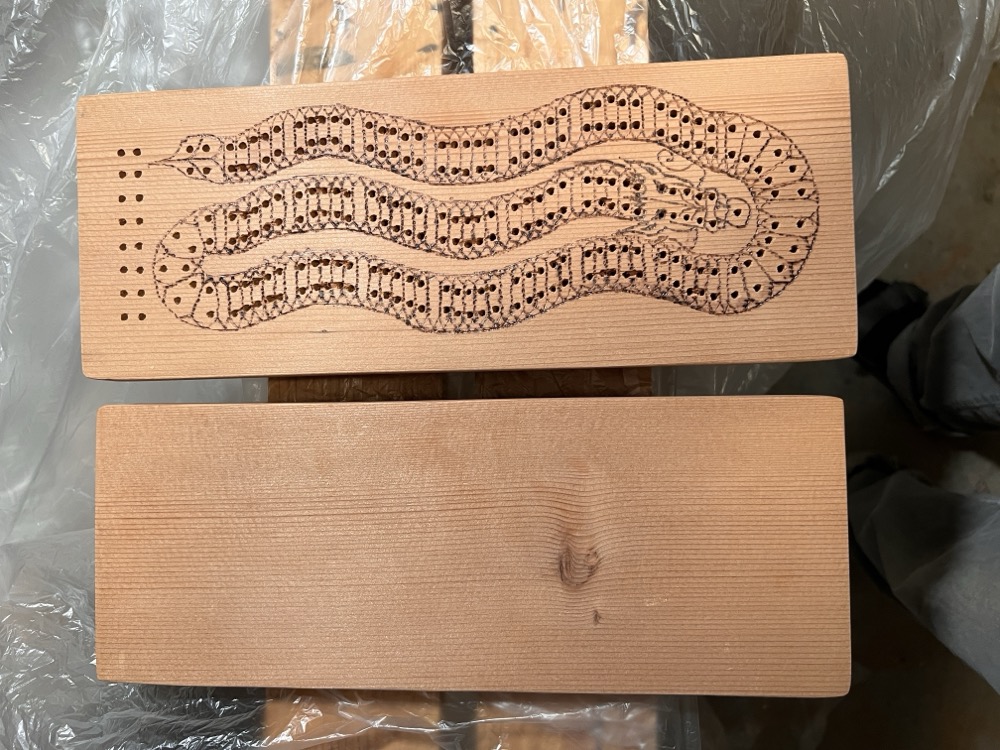
At some point, I would like to redo this project with harder wood, but I’m happy overall with the look and feel.
Footnotes
-
I forgot to add “pegs work well”… ↩